I despise cleaning rimfire suppressors. I shoot a lot of suppressed 22 and go way too many rounds between cleanings.
I have tried cleaning the baffles in ultrasonic cleaners using a solution designed for gun parts for multiple cycles. I've had very limited success with this method, I still had to resort to dental picks and elbow grease to get the baffles clean.
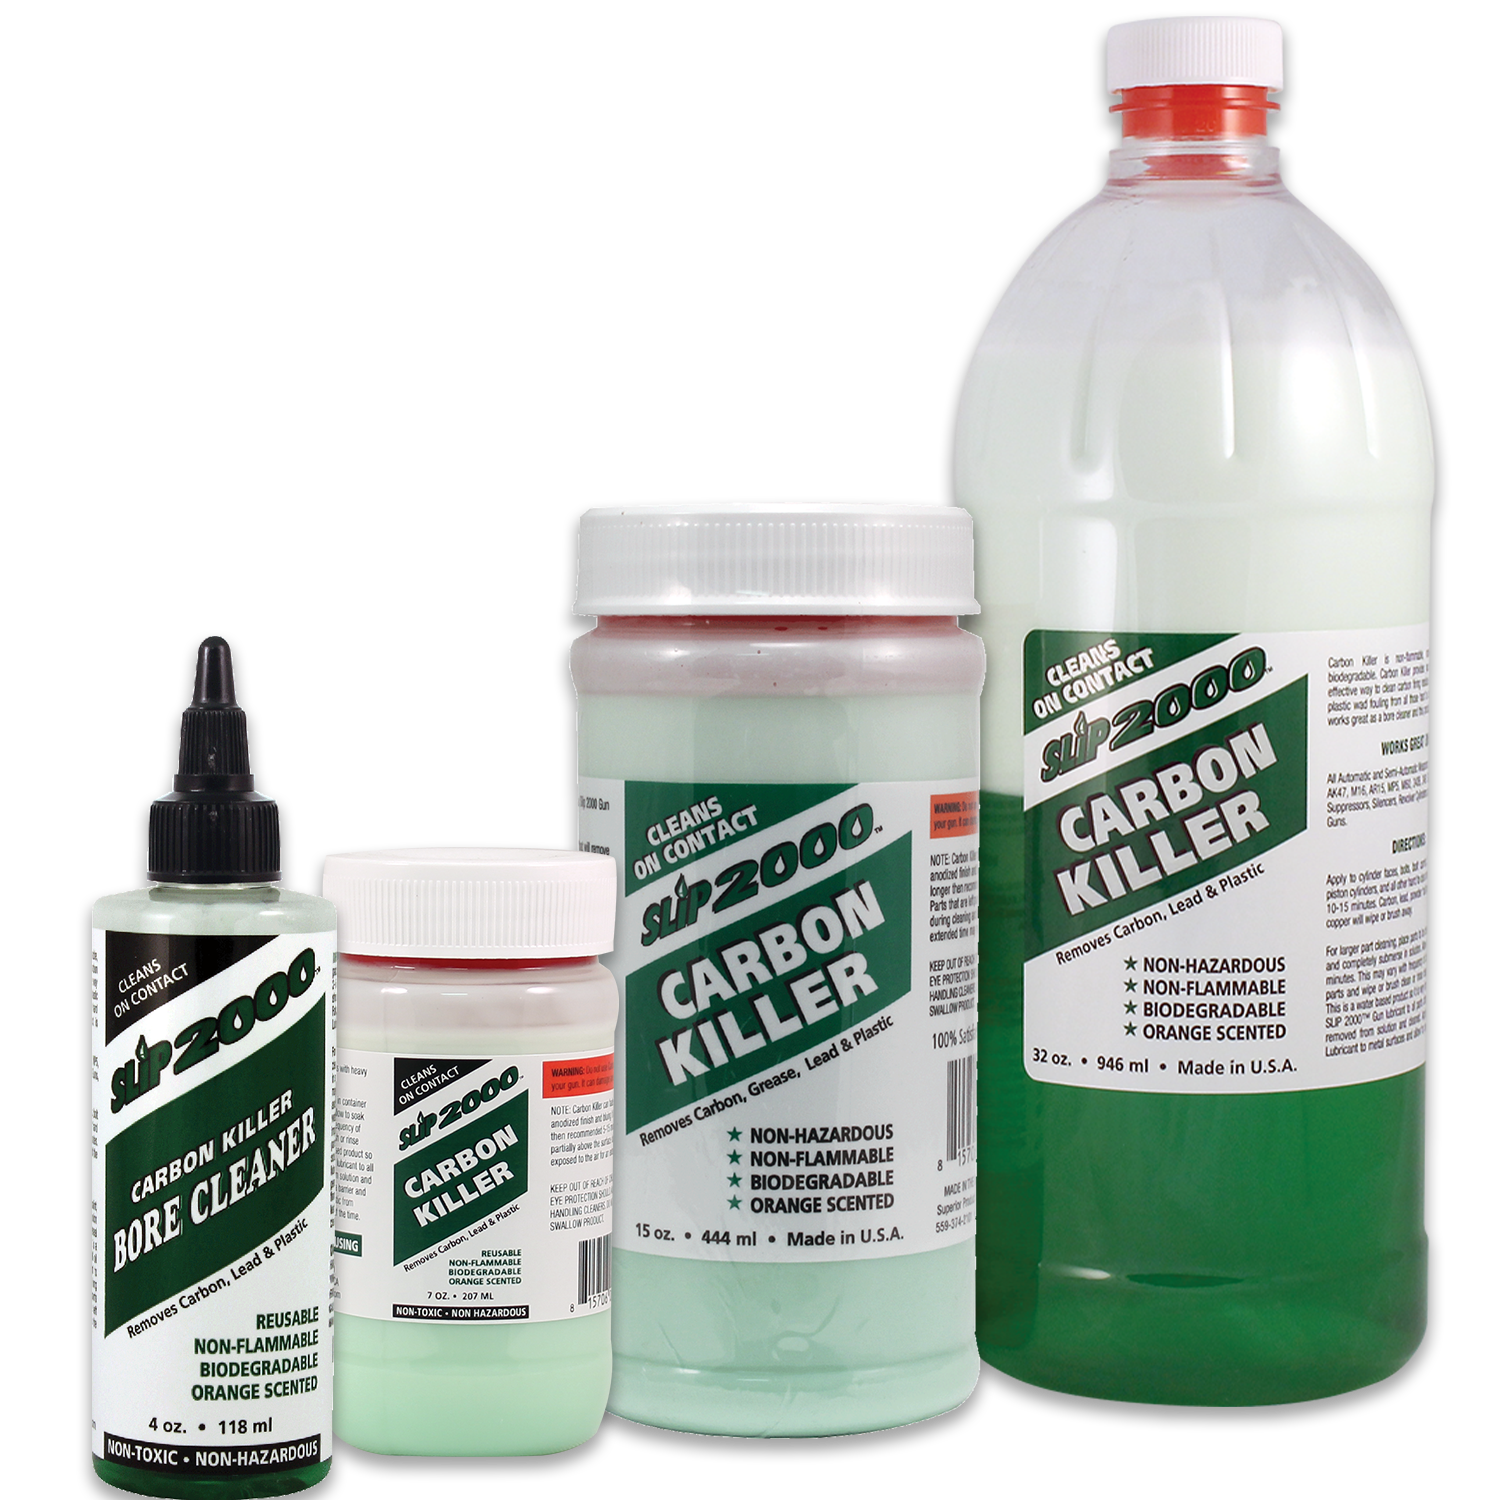
On the advice of the guys who clean the rental guns and suppressors at my LGS, I decided to buy and try a bottle of Breakthrough Suppressor Cleaner. What sold me on it is the fact that it is supposed to be a soak and forget cleaning solution. I really liked the easy aspect of this cleaning method. I also liked the fact that the solution is reusable so you don't have to keep buying it over and over.
![Image]()
So with great hope, I decided to document my first use.
I started with a very dirty Q el Camino suppressor. It has a PVD titanium outer sleeve and end cap with stainless steel baffles. The suppressor probably had at least 1k rounds, and maybe more since its last cleaning. The spec sheet lists the weight at 4.3 oz. I weighed the suppressor prior to cleaning and it weighed 5.3 oz so there was a lot of built up carbon and lead. The design of the suppressor keeps the inside of the titanium sleeve pretty clean and the end cap only had minimal residue. The buildup was mainly on the baffles.
Here are the before pictures.
![Image]()
![Image]()
I didn't buy the whole "kit", so I started by pouring enough of the cleaner into a new glass jar to submerge the baffles completely. I put the baffles in the solution and waited for the magic to happen.
After ½ hour I checked on the progress. The solution had a slight yellow tinge and had several small streams of bubbles coming from the insides of the baffles. Here is the ½ hour picture.
![Image]()
After 1 hour of soaking, the bubbles had slowed a little compared to ½ hour and the solution had turned a little deeper yellow especially on the bottom. Here is the 1 hour picture.
![Image]()
More time in the jar. At 2 hours, the solution was a deeper yellow and turning a little bit opaque. There were still bubbles slowly coming from the baffles. Here is the 2 hour picture.
![Image]()
I checked progress at 4 hours. The solution was very opaque, dark yellow and turning black towards the bottom of the jar. It was still bubbling, but very little. There is also debris on the bottom and at this point I'm thinking that it is really starting to work. Unfortunately, I forgot to take a picture at this stage.
At 5 hours, the solution is very cloudy, still bubbling a little and more debris on the bottom of the jar. I forgot a picture at this stage as well. Since it appeared to be still working, I left the baffles in the solution overnight.
At 15 hours of soak time, the solution was a golden color at the top going to black at the bottom. It was still bubbling and there was a lot of black debris on the bottom of the jar. Here is a picture at 15 hours.
![Image]()
At 17 hours, conditions were the same as 15 hours, no picture.
At 19 hours, it was the same, but the bubbles stopped. So in the interest of experimentation, I swirled and shook the jar to agitate it. The solution mixed and turned black. Here is a picture after agitation.
![Image]()
I checked again at 22 hours. The fluid was still black. There had been no settling and there were no bubbles.
At 28 hours, still no settling, the solution is black and there were no bubbles. I made the decision to pull the baffles out and photograph and weigh the suppressor again. The suppressor weighed 4.9 oz, so the solution had removed 4/10 of an ounce of the build up. Here are pictures of the baffles right after they came out of the solution.
![Image]()
![Image]()
I think the solution did a pretty good job on one side of the baffles that didn't really have much deposits. The other side where all accumulation was still had a good bit of residue. I ended up breaking out the dental picks. I noticed that the solution had not permeated all the way to the metal. The carbon/lead mixture was dry under the surface requiring the same amount of effort to remove as not using the solution. Maybe due to how dirty the baffles were, I should have left it in the solution longer. It may have helped.
After cleaning with the picks, the suppressor weighed 4.5 oz. So not perfectly clean, but pretty close. I probably should have put the baffles back in the solution at this point to get the rest of the residue, but I was getting ready to go shoot for the weekend so I didnt. I don't strive for perfection when cleaning perfection because I will just get it filthy again on the next range session.
So, here is my opinion to go with the observations. Don't let your suppressors get that dirty. I think the solution would do a good job with more frequent soakings. It didn't really penetrate the built up gunk very well. Where there were just small deposits or a thin coating of residue everything just wiped off as I was drying the baffles with a paper towel. It was my fault for waiting so long to clean it, but the solution did remove ½ by weight of the carbon/lead buildup I got out of the suppressor. Overall, I don't think this is a "Miracle" product, but I think it does what it is supposed to do. It is kind of expensive but it is reusable.
Here is what I will do next time.
Soak it after a few hundred rounds so there isn't as much buildup. I think this will make the biggest difference. I will probably leave it in the solution for a couple of days. If this doesn't work, I may use it as the cleaning solution in my ultrasonic cleaner. I think the ultrasonic aspect may help the solution penetrate better leading to a better dissolution of the lead and carbon.
Hope this helps anyone on the fence about purchasing this product. I bought the Breakthrough Suppressor Cleaner with my own money and used it on my own suppressor. This review was not sponsored in any way, (send me a PM if you would like to make a large cash donation though) and it is just my observations and opinions. Your mileage may vary. No animals were harmed in either the cleaning, photography or review of this product.
I have tried cleaning the baffles in ultrasonic cleaners using a solution designed for gun parts for multiple cycles. I've had very limited success with this method, I still had to resort to dental picks and elbow grease to get the baffles clean.
On the advice of the guys who clean the rental guns and suppressors at my LGS, I decided to buy and try a bottle of Breakthrough Suppressor Cleaner. What sold me on it is the fact that it is supposed to be a soak and forget cleaning solution. I really liked the easy aspect of this cleaning method. I also liked the fact that the solution is reusable so you don't have to keep buying it over and over.
So with great hope, I decided to document my first use.
I started with a very dirty Q el Camino suppressor. It has a PVD titanium outer sleeve and end cap with stainless steel baffles. The suppressor probably had at least 1k rounds, and maybe more since its last cleaning. The spec sheet lists the weight at 4.3 oz. I weighed the suppressor prior to cleaning and it weighed 5.3 oz so there was a lot of built up carbon and lead. The design of the suppressor keeps the inside of the titanium sleeve pretty clean and the end cap only had minimal residue. The buildup was mainly on the baffles.
Here are the before pictures.
I didn't buy the whole "kit", so I started by pouring enough of the cleaner into a new glass jar to submerge the baffles completely. I put the baffles in the solution and waited for the magic to happen.
After ½ hour I checked on the progress. The solution had a slight yellow tinge and had several small streams of bubbles coming from the insides of the baffles. Here is the ½ hour picture.
After 1 hour of soaking, the bubbles had slowed a little compared to ½ hour and the solution had turned a little deeper yellow especially on the bottom. Here is the 1 hour picture.
More time in the jar. At 2 hours, the solution was a deeper yellow and turning a little bit opaque. There were still bubbles slowly coming from the baffles. Here is the 2 hour picture.
I checked progress at 4 hours. The solution was very opaque, dark yellow and turning black towards the bottom of the jar. It was still bubbling, but very little. There is also debris on the bottom and at this point I'm thinking that it is really starting to work. Unfortunately, I forgot to take a picture at this stage.
At 5 hours, the solution is very cloudy, still bubbling a little and more debris on the bottom of the jar. I forgot a picture at this stage as well. Since it appeared to be still working, I left the baffles in the solution overnight.
At 15 hours of soak time, the solution was a golden color at the top going to black at the bottom. It was still bubbling and there was a lot of black debris on the bottom of the jar. Here is a picture at 15 hours.
At 17 hours, conditions were the same as 15 hours, no picture.
At 19 hours, it was the same, but the bubbles stopped. So in the interest of experimentation, I swirled and shook the jar to agitate it. The solution mixed and turned black. Here is a picture after agitation.
I checked again at 22 hours. The fluid was still black. There had been no settling and there were no bubbles.
At 28 hours, still no settling, the solution is black and there were no bubbles. I made the decision to pull the baffles out and photograph and weigh the suppressor again. The suppressor weighed 4.9 oz, so the solution had removed 4/10 of an ounce of the build up. Here are pictures of the baffles right after they came out of the solution.
I think the solution did a pretty good job on one side of the baffles that didn't really have much deposits. The other side where all accumulation was still had a good bit of residue. I ended up breaking out the dental picks. I noticed that the solution had not permeated all the way to the metal. The carbon/lead mixture was dry under the surface requiring the same amount of effort to remove as not using the solution. Maybe due to how dirty the baffles were, I should have left it in the solution longer. It may have helped.
After cleaning with the picks, the suppressor weighed 4.5 oz. So not perfectly clean, but pretty close. I probably should have put the baffles back in the solution at this point to get the rest of the residue, but I was getting ready to go shoot for the weekend so I didnt. I don't strive for perfection when cleaning perfection because I will just get it filthy again on the next range session.
So, here is my opinion to go with the observations. Don't let your suppressors get that dirty. I think the solution would do a good job with more frequent soakings. It didn't really penetrate the built up gunk very well. Where there were just small deposits or a thin coating of residue everything just wiped off as I was drying the baffles with a paper towel. It was my fault for waiting so long to clean it, but the solution did remove ½ by weight of the carbon/lead buildup I got out of the suppressor. Overall, I don't think this is a "Miracle" product, but I think it does what it is supposed to do. It is kind of expensive but it is reusable.
Here is what I will do next time.
Soak it after a few hundred rounds so there isn't as much buildup. I think this will make the biggest difference. I will probably leave it in the solution for a couple of days. If this doesn't work, I may use it as the cleaning solution in my ultrasonic cleaner. I think the ultrasonic aspect may help the solution penetrate better leading to a better dissolution of the lead and carbon.
Hope this helps anyone on the fence about purchasing this product. I bought the Breakthrough Suppressor Cleaner with my own money and used it on my own suppressor. This review was not sponsored in any way, (send me a PM if you would like to make a large cash donation though) and it is just my observations and opinions. Your mileage may vary. No animals were harmed in either the cleaning, photography or review of this product.