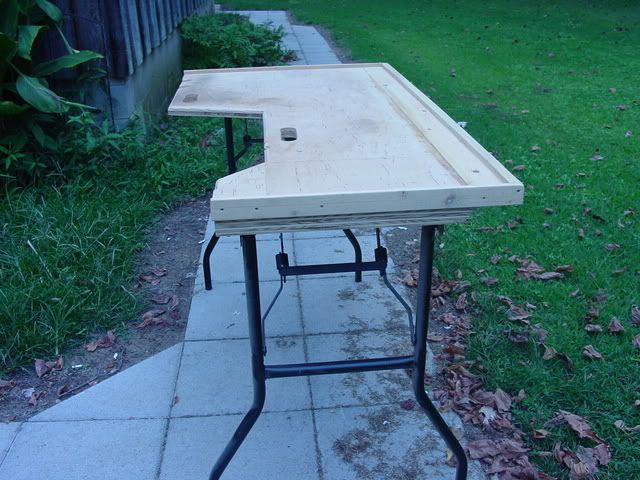
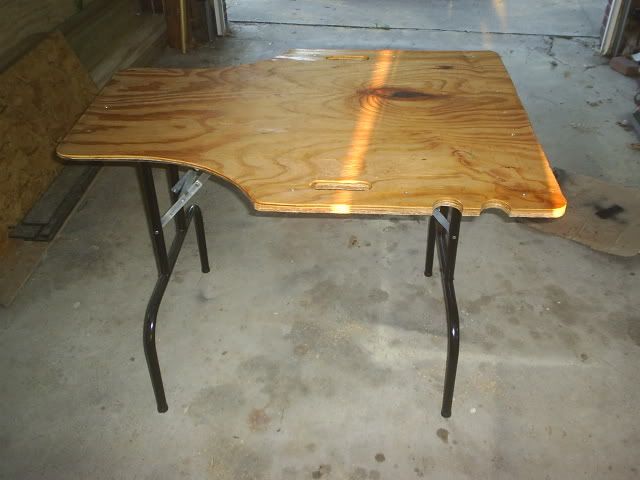
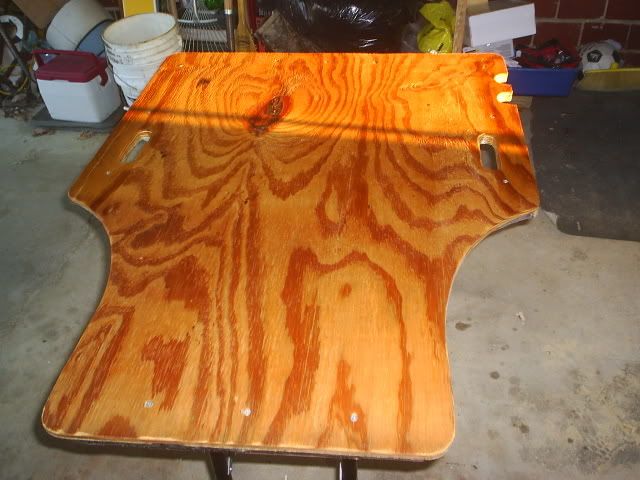
I finally figured out how to convert all this into a .jpeg so you guys could download and print. This is based on a bench from the net that I made. I added my own detailed instructions. The bench is portable and very heavy (good for steadyness). The leg couplers are welded to the flat bar plates. The birch on mine was stained blue with rit dye and sealed with poly. I hope that if any of you make one you could post some pictures of it? Thanks
![Image]()
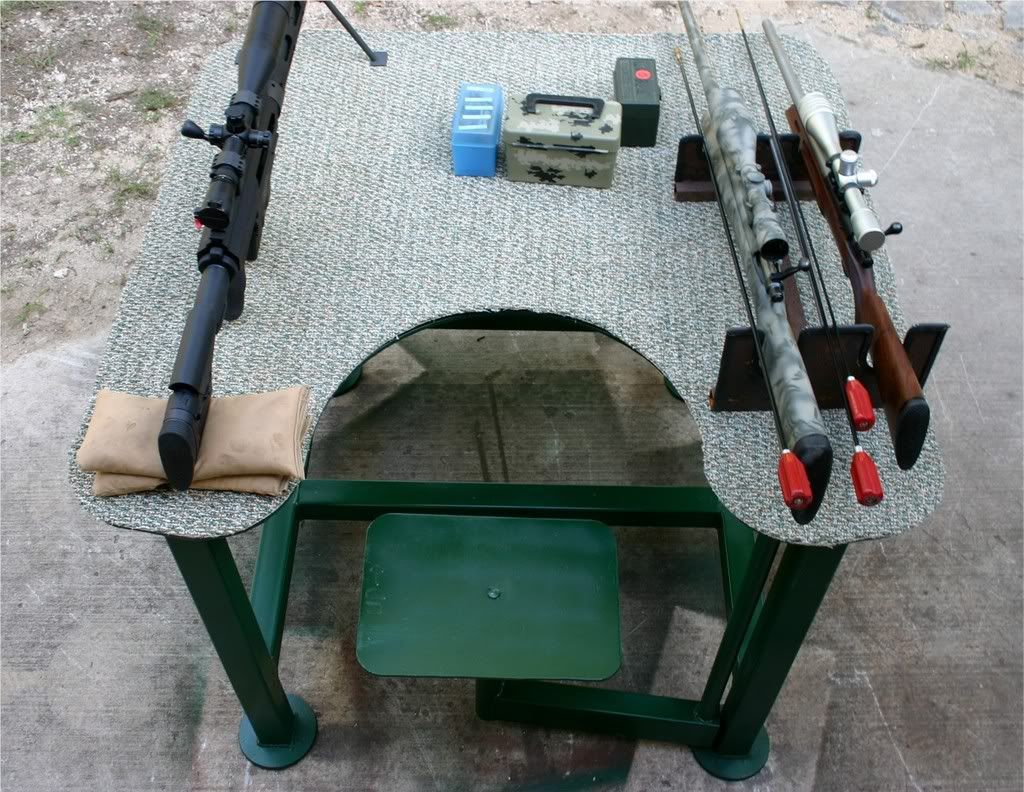
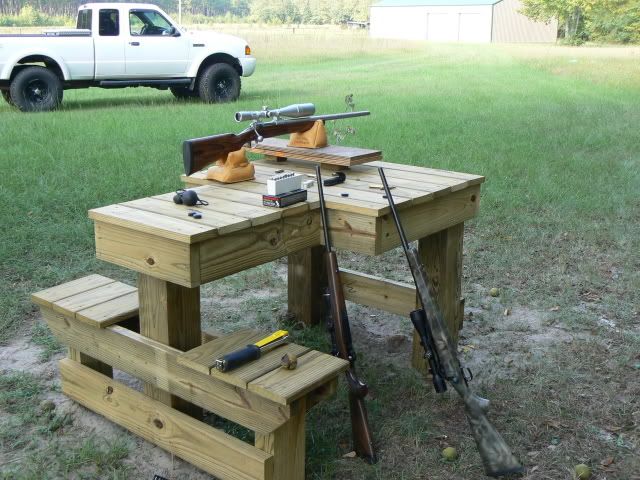
Here's a pic of mine...
![Image]()

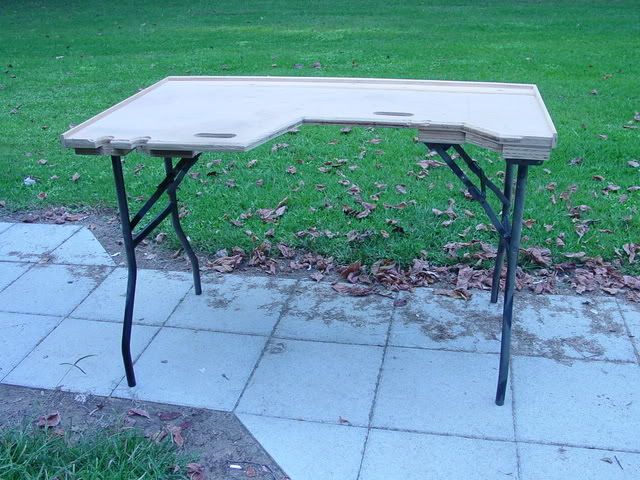
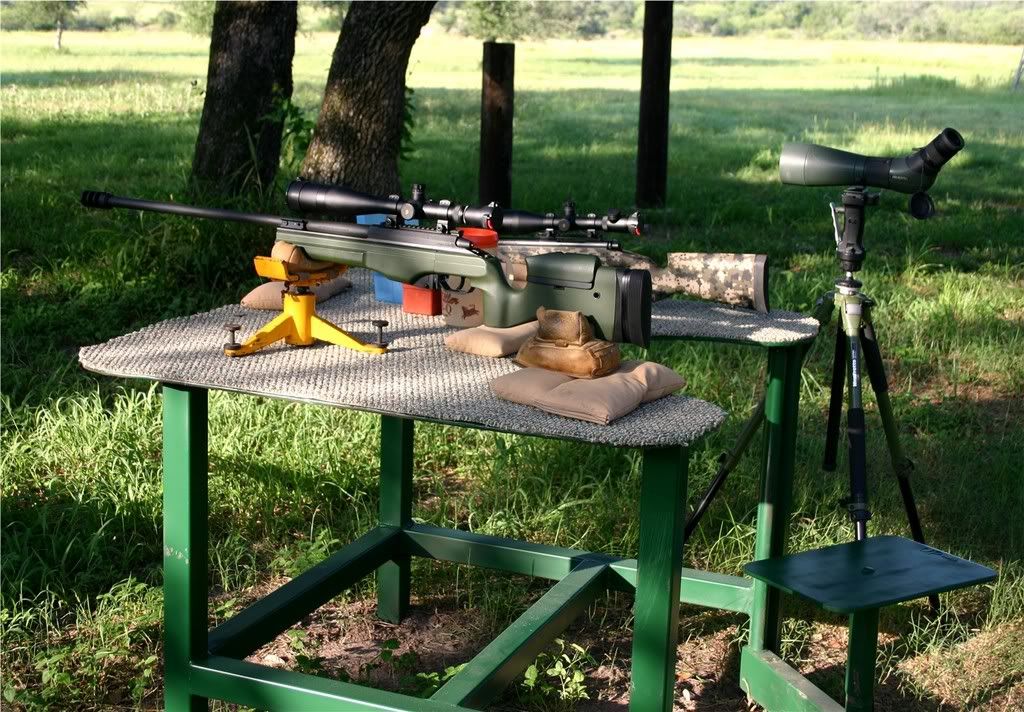
Here's a pic of mine...


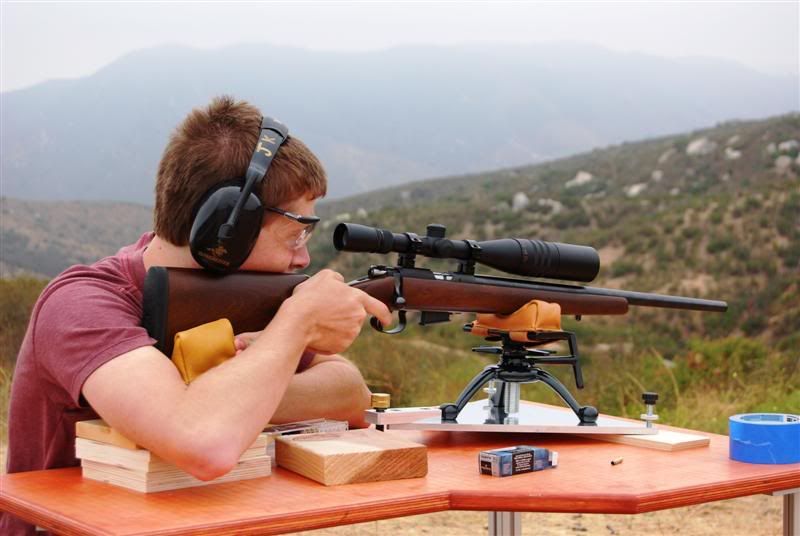
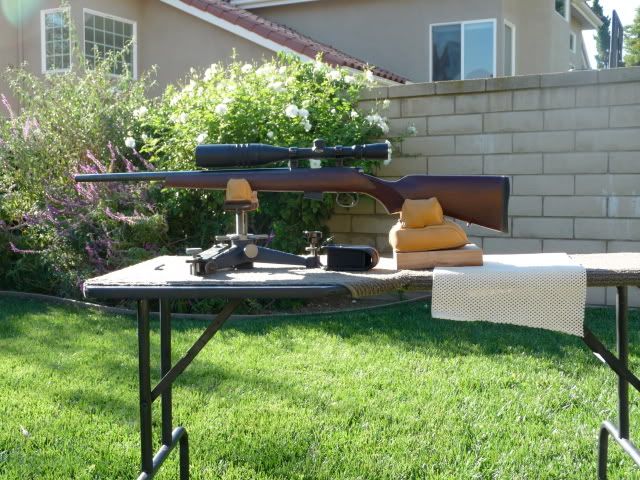
 -- I was aked to post this again on this thread, this is fro the guys who want shooting time vs time making a bench."Quick and easy" I've made a better one ,but this one get more use as to it's portability lite weight etc.:t --JMJ--