Rimfire Central Firearm Forum banner
  • Whether you're a greenhorn or a seasoned veteran, your collection's next piece is at Bass Pro Shops. Shop Now.

    Advertisement

Starting a Niedner buttplate

1 reading
7.9K views 20 replies 12 participants last post by  gemihur  
#1 · (Edited)
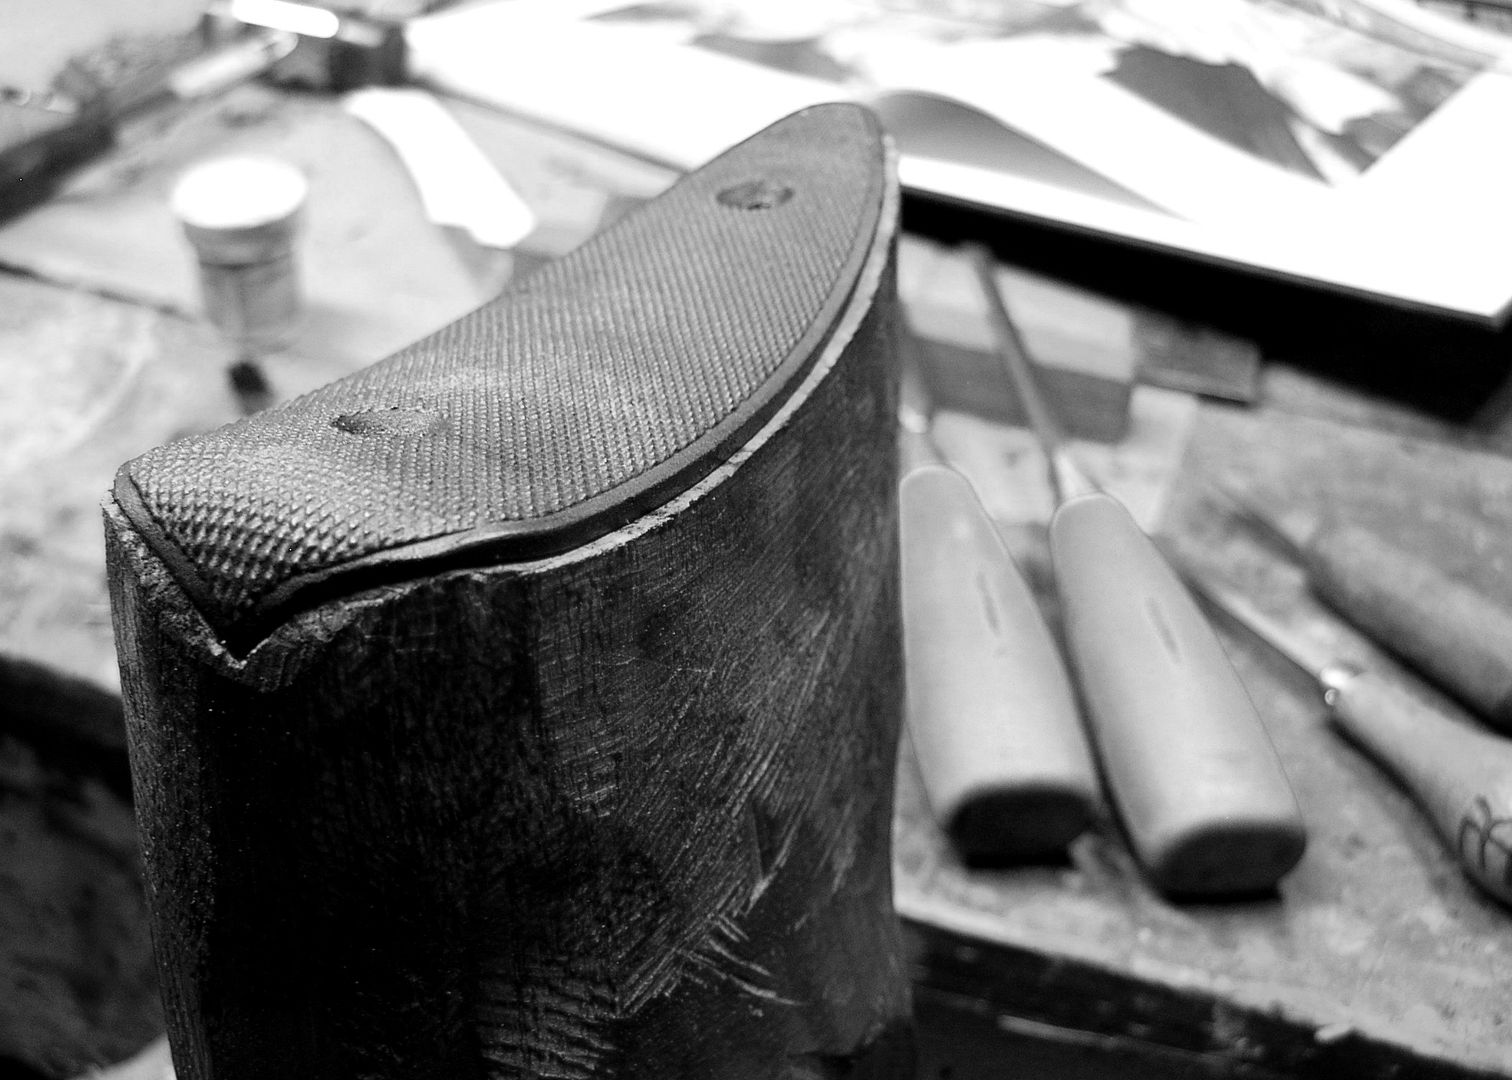
Here's some photos I took while starting to fit a Niedner buttplate to a stock. The rifle will be a trim .22 sporter, and it is my first time using one of these buttplates. I've done several Winchester-style buttplates, but not this thinner, smaller Niedner plate.

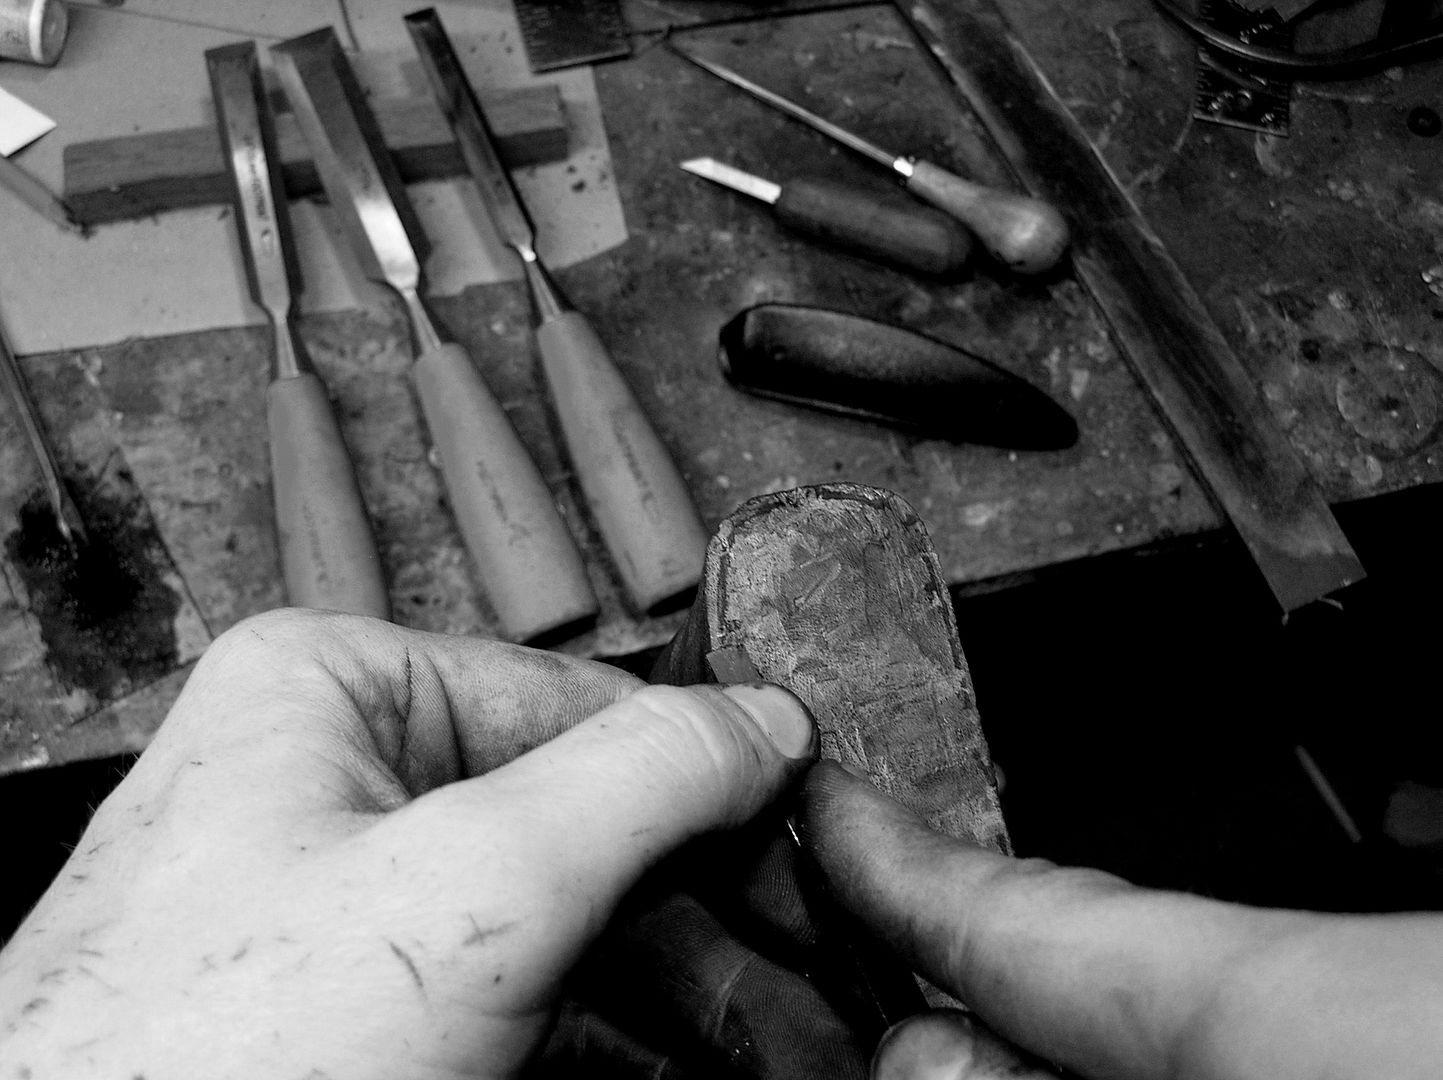
I first cut the pitch angle of the butt with a miter saw, then marked down on the wood the drop-at-heel, cast-off and toe-out dimensions I've figured for the buttplate. A #49 rasp was handy for chewing the concave curve of the buttplate out of the flat sawn butt. Then once it was rougly fitted, I finally started digging in with chisels and scrapers to start inletting it into the wood. I use the slow but sure method brushing thinned inletting black onto the buttplate to show me where to remove wood. Brush on inletting black, press the buttplate onto the wood, remove, chisel/scrape, re-brush, press on again, on and on and on until the gaps are closed.

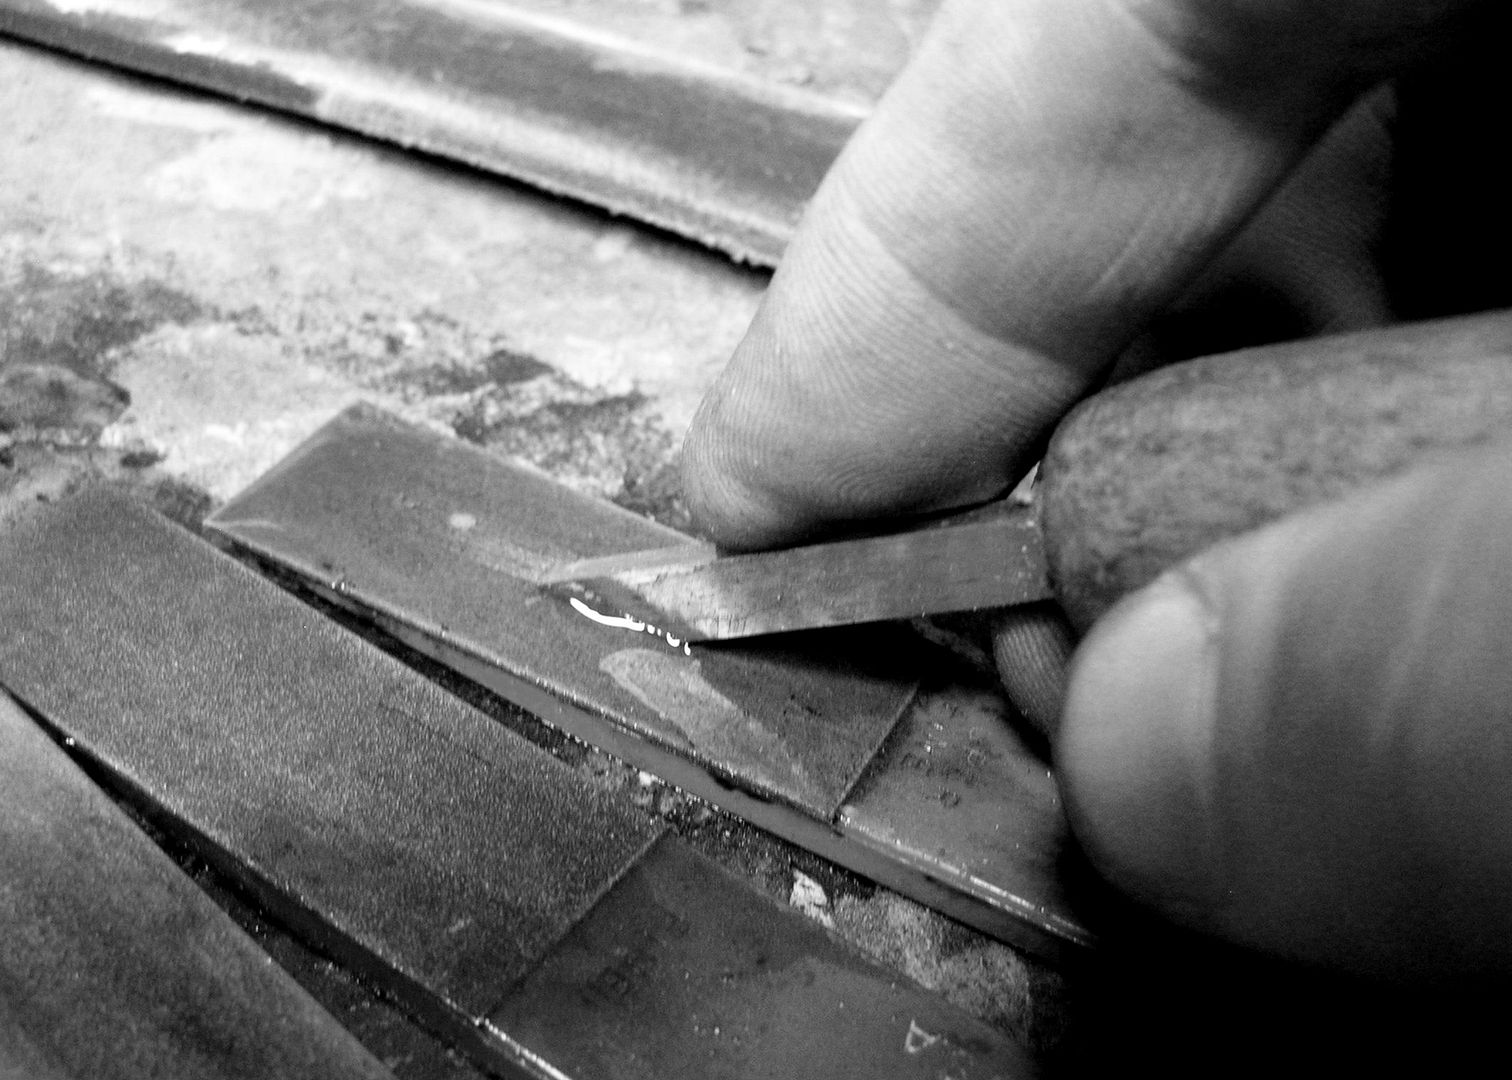
Because there is a lot of hard/soft spots between the growth rings in this wood, I've been constantly stropping my chisels to keep them sharp enough to cut cleanly across the wood grain. Otherwise they won't budge, then will slip and skip on the surface or shear wildly into the grain. I've just been using a 1/4" paring chisel and 1/4" flat scraper, plus a 1/2" paring chisel for removing the bulk of the wood.

Image


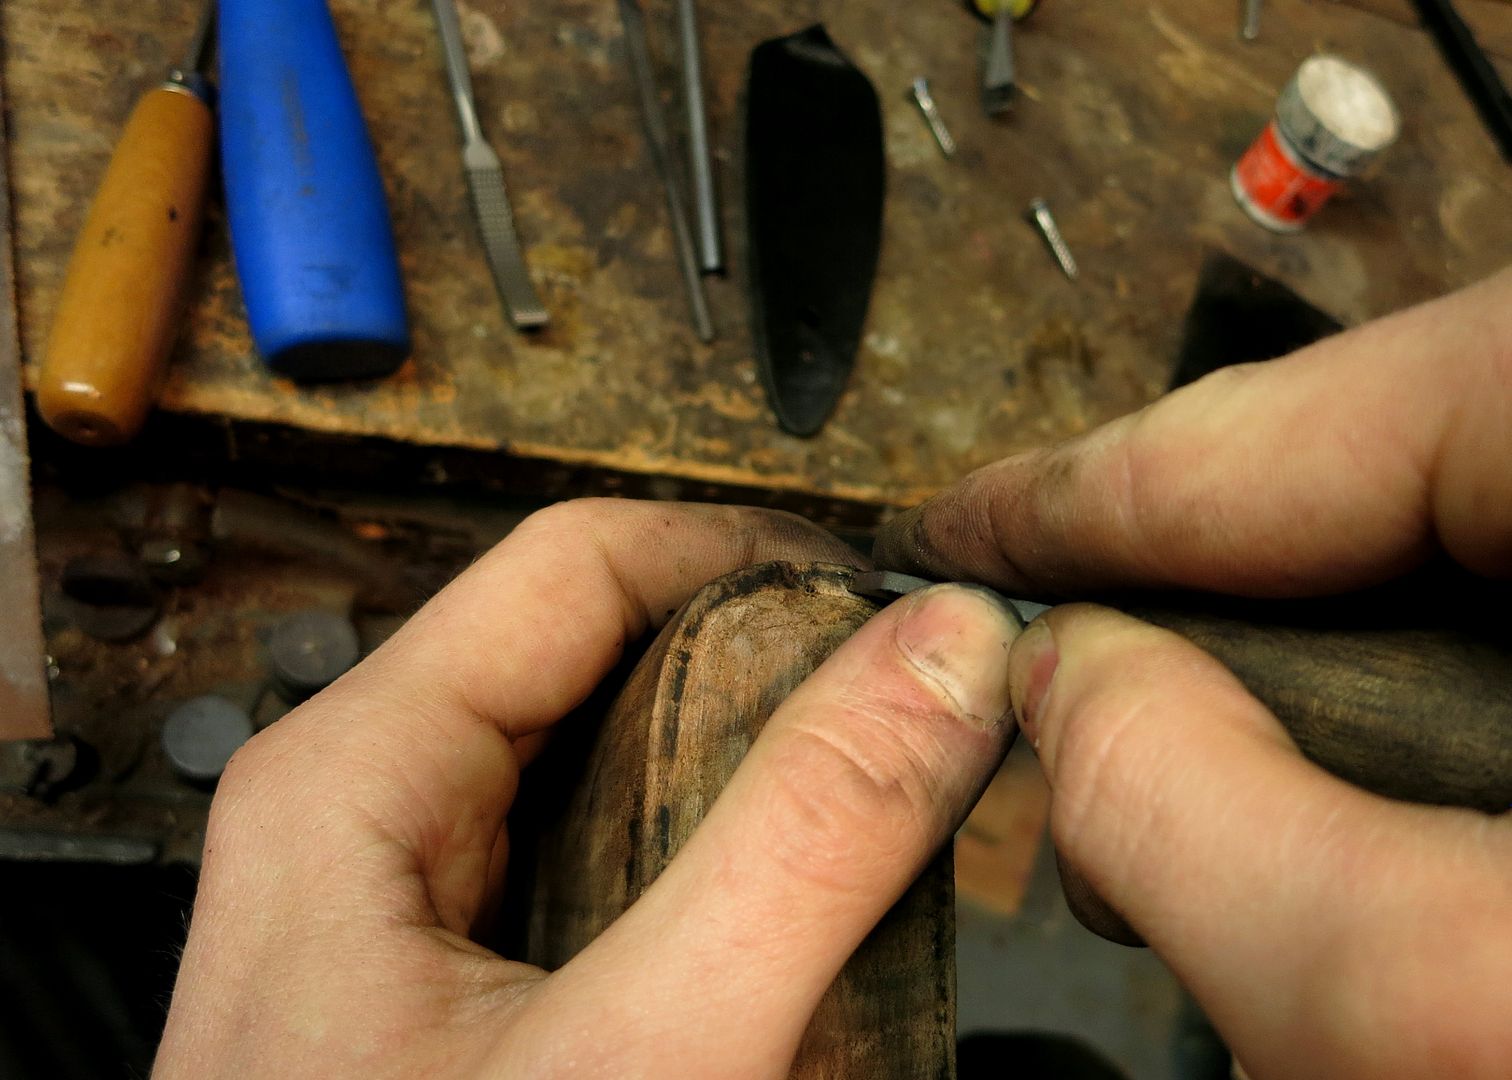
I like to sit down and have the stock clamped vertically in front of me so I can easily see and carve around the buttplate inletting.

Image


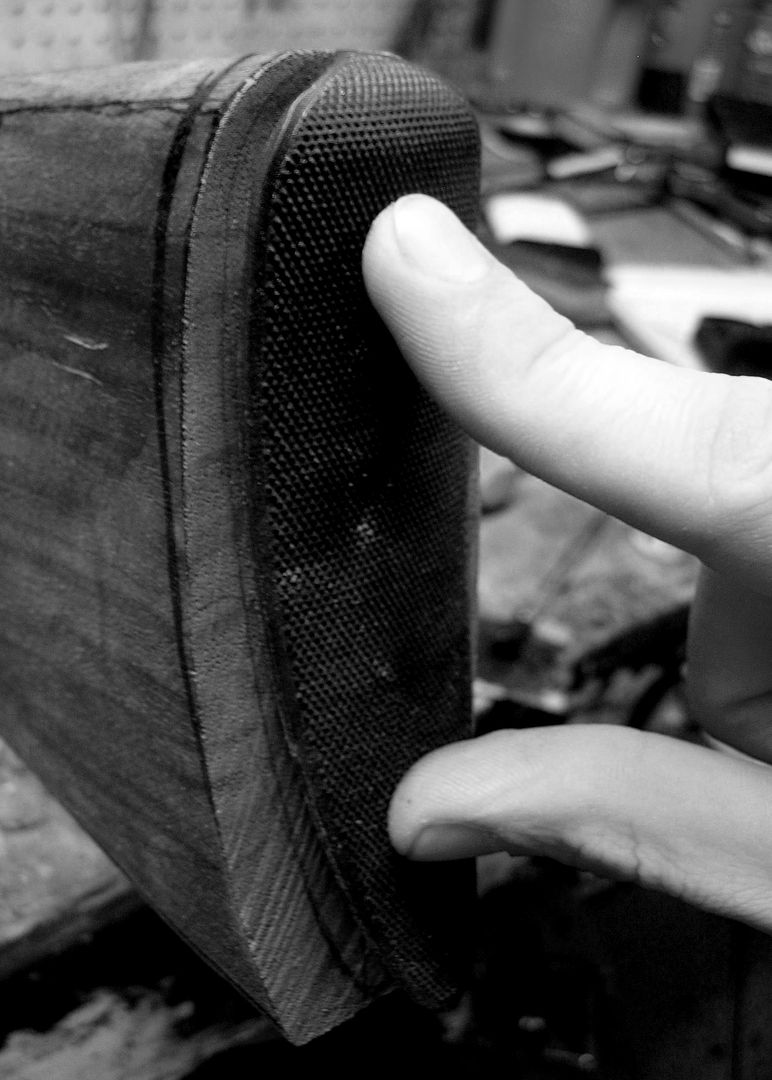
Once you start seeing a black border forming from the inletting black, you're getting close. It's a good feeling after many many fittings without much progress. It's easy to get frustrated, blindly remove a bunch of material, and misjudge the contour of the buttplate in the process and create gaps, setting yourself back.

Image


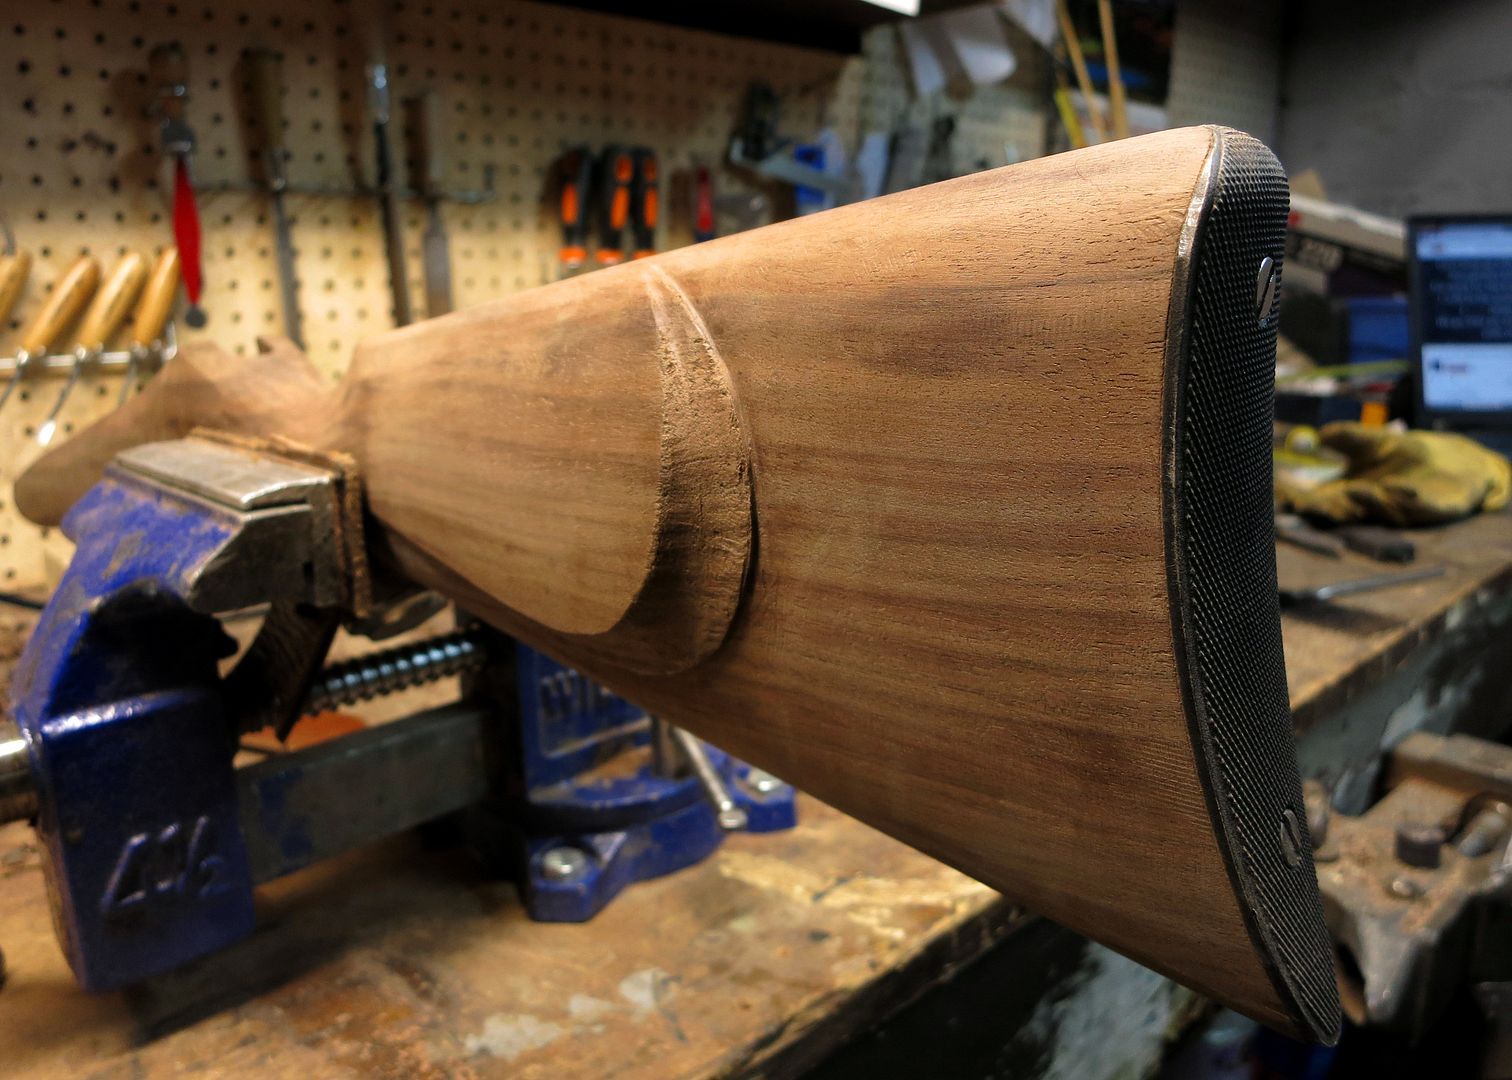
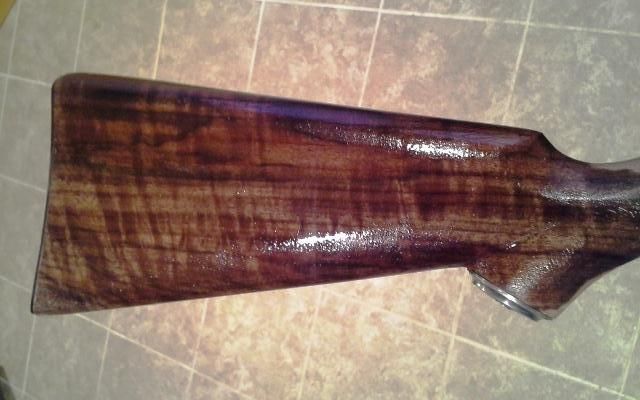
It is about 90% fitted here:

Image
 
#2 ·
I also made a handy little chisel yesterday to help with inletting the spur at the top of the buttplate. This is something I learned to do from Steve Hughes during his seminar I attended this past September.

I started by polishing a little 2"x1/4" strip of about .1" thick tool steel, and rough filing a 45-degree point on one end.

Image


Then I started the handle by cutting off a little piece of 3/4"x3/4" scrap wood (some curly claro walnut), drilling it, and chiseling it into a rounder shape:

Image


I epoxied the blade into the handle and went to work polishing, sharpening, and stropping the blade to be super sharp. I'm not going to harden or temper this blade, just constantly check sharpness.

Image


Then it went to work. The narrow little cutting edge- just the tip of the blade- works perfectly for shaving off slivers to close small gaps around the buttplate and the spur inlet.

Image
 
#4 · (Edited)
Thanks Jahmez, sometimes I do have to slow down and be a lot more careful. When you are nearly done fitting or inletting something, one wrong move can set you back pretty far. Checkering is similar- your errors are very visible, and trying to rush is a surefire way for me to screw it up.

I could go a lot faster, I mean I could probably hack away for an hour and then finish the fitting with epoxy but that's not the point. I want it to look like the metal grew on the wood. I use more scrapers than I used to and aside from being very useful, they don't remove wood fast and force me to take my time in a way.

Post number 5000 for me. Wow.
 
#6 ·
3 observations

Love the stock work cause I don't do it and can't at least not worth spit.

You too cheap to take pictures in color? :rolleyes::rolleyes:

Pictures of your hands remind me of Roy Underhill's. Folks that spend a lot of time with hand tools look like that. :D:D:D Make a mistake and get a scar.

Great stuff. Thanks.

noremf(George)
 
#9 · (Edited)
Love the stock work cause I don't do it and can't at least not worth spit.

You too cheap to take pictures in color? :rolleyes::rolleyes:

Pictures of your hands remind me of Roy Underhill's. Folks that spend a lot of time with hand tools look like that. :D:D:D Make a mistake and get a scar.

Great stuff. Thanks.

noremf(George)
Hey you're welcome George, I was going to take a photo for you last night with some extra color on my thumbnail (thanks to a recent lapse in thought at my workbench) but instead spent my evening with a snowblower. What can I say, developing all those digital photos in color got a little costly!

I really like Underhill's show and thankfully a lot of it is on Youtube. Truthfully I'm more like Red Green's Handyman's Corner most of the time, you should look him up if you aren't familiar with the name.

EK, great tutorial and excellent work!

On the few Neidner-style plates I've mounted the same process was followed except a Dremel, with various drums and bits, was used to shave away the parts of the stock showing the marking agent.

It looks like so far you've marked your stock without screwing the plate down in between fittings. Is that correct? If it is then I'm scratching my head as to why I've been sucking the plate down with the screws throughout the process rather than just the last few "try and fit" attempts. For that matter, getting the screw holes in the correct place AND at the correct angle is the part I have the hardest time making happen.

Again, terrific job.
Thanks, and by the way this isn't really meant to be a tutorial as much as "this is how I am doing it today." Trust me I am still learning this stuff!

My dremel gets a lot of use for various jobs but not inletting. My theory is the faster the tool works the faster it can screw it up, and dremels are a whole lot faster than hand tools. But if you can do the job with one, by all means do it!

This is the first time I've tried fitting the buttplate without drilling the holes early on. I am following instructions from Dave Wesbrook's book Professional Stockmaking closely for this buttplate and he drills the screw holes last, so I'm giving it a try. I think it's a little tougher to keep it aligned and in place for fitting after fitting this way... but I also think drawing the screws down tight could easily distort the buttplate, thus giving you a false fitting. Once the spur on the top of the buttplate is started, it helps secure the plate in place and I give the buttplate just one firm tap with a mallet to mark the wood. I'll let you know what I think after completing this one, can't really say since I'm not done yet.

This seems to be related to the natural artistic bent you keep showing (love your photography). It's clearly not enough to be technically correct.

Now I am looking forward to a skeletonized butt plate installation. Ha! You know you gotta try it!
Skeletonized stuff? Trust me, I want to try it too.

I appreciate the nice comment, and I think the best guns and photography are alike in the sense that they show a sense of artistry, but being technically correct is a prerequisite. I could try to make a stock as fancy as my imagination can run but it's no good if it isn't done right. Hence why I haven't tried a skeletonized buttplate or grip cap yet.

Tight gap-free inletting, near-flawless finishes, sharp checkering, etc. are some of the basic things that distinguish great from good stocks to me and I think if I can do that right, the artistry will follow. I had the opportunity to handle some very fine guns made by some real craftsmen last year and it left a real impression on me.
 
#7 ·
EK, great tutorial and excellent work!

On the few Neidner-style plates I've mounted the same process was followed except a Dremel, with various drums and bits, was used to shave away the parts of the stock showing the marking agent.

It looks like so far you've marked your stock without screwing the plate down in between fittings. Is that correct? If it is then I'm scratching my head as to why I've been sucking the plate down with the screws throughout the process rather than just the last few "try and fit" attempts. For that matter, getting the screw holes in the correct place AND at the correct angle is the part I have the hardest time making happen.

Again, terrific job.
 
#11 · (Edited)
I'm finally getting near the end of this- to the point where every cut can set me back as far if not farther than I'll progress. Gotta be really careful so I am constantly stropping the little chisel's edge to keep it sharp as I go around the edge of the buttplate. A dull tool requires more pressure to cut, and a slip here from using too much force would mean a considerable setback.

Image


I've rasped and scraped off almost every bit of excess wood off the butt, so now the seam between the walnut and steel is revealed.

Image


Image


I think this is the tightest fitted buttplate I've done yet, I'm happy with it. I nicked the buttplate a few times while filing the wood down along the edge, but it doesn't bother me too much since I'm going to sharpen up all of the checkering on the plate with files anyways. I still have to sand the wood down flush with the metal and will do a little touch-up work in some spots, but so far it is looking good.

Here's a little preview of what the rest of the stock will look like:

 
#14 ·
Thanks fellas! Yeah Vince, it takes a lot less time to complete a project when you make less mistakes (and use the right tools for the job). I work a little bit slower and the project goes a little bit faster. Funny how that can work.