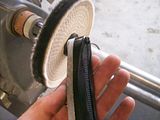
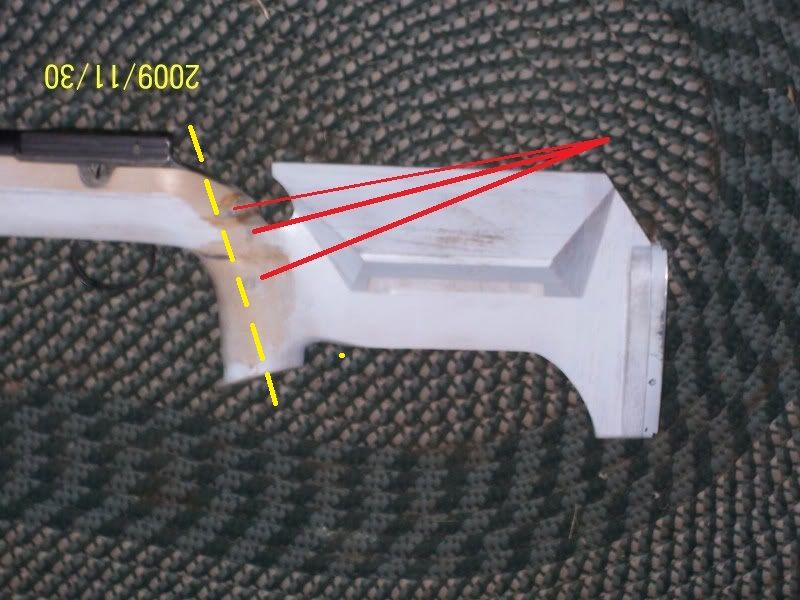
Well i decided to heavily modify my cm-2. I'm going to turn it into a heavy bench rest gun. I'm going to widen and reshape the front end of stock. I would like to make an adjustable cheek piece. I like the design of the 2013 Anschutz bench Here's a photo.
![Image]()
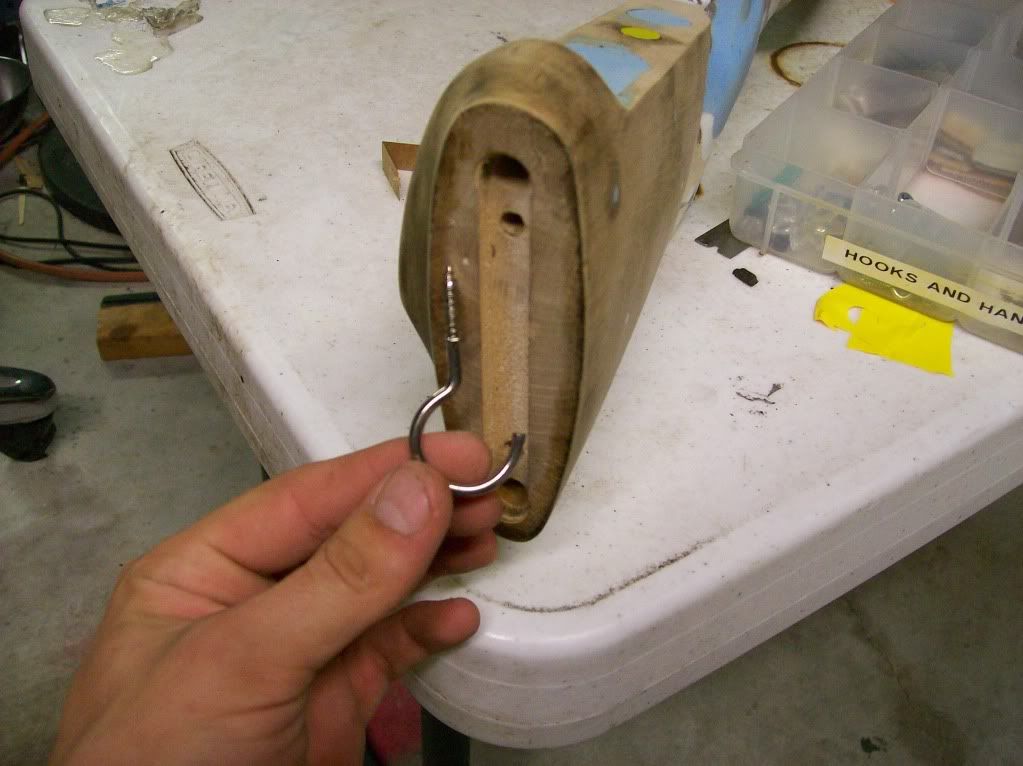
The semi-pistol grip does not fit my hand well. I think i wold like to remove a good amount of wood, and make a personalized grip out of 3m void filling compound. Its really strong stuff. I have never attempted any rifle project quite this big on a gun. I hope it turns out well.
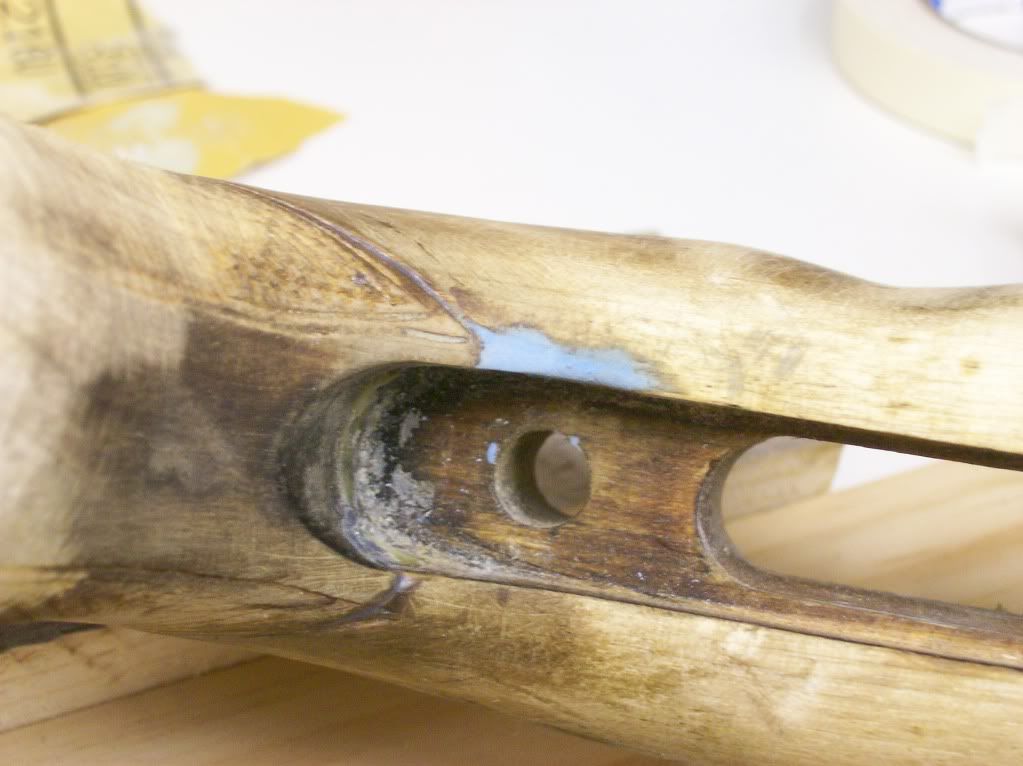
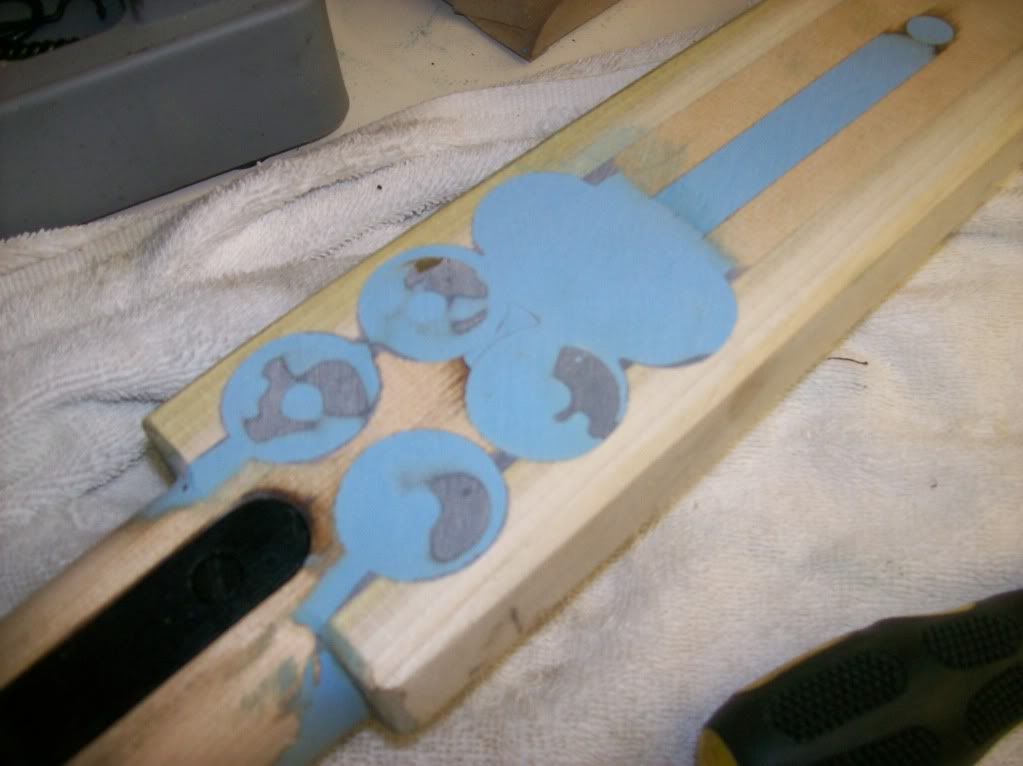
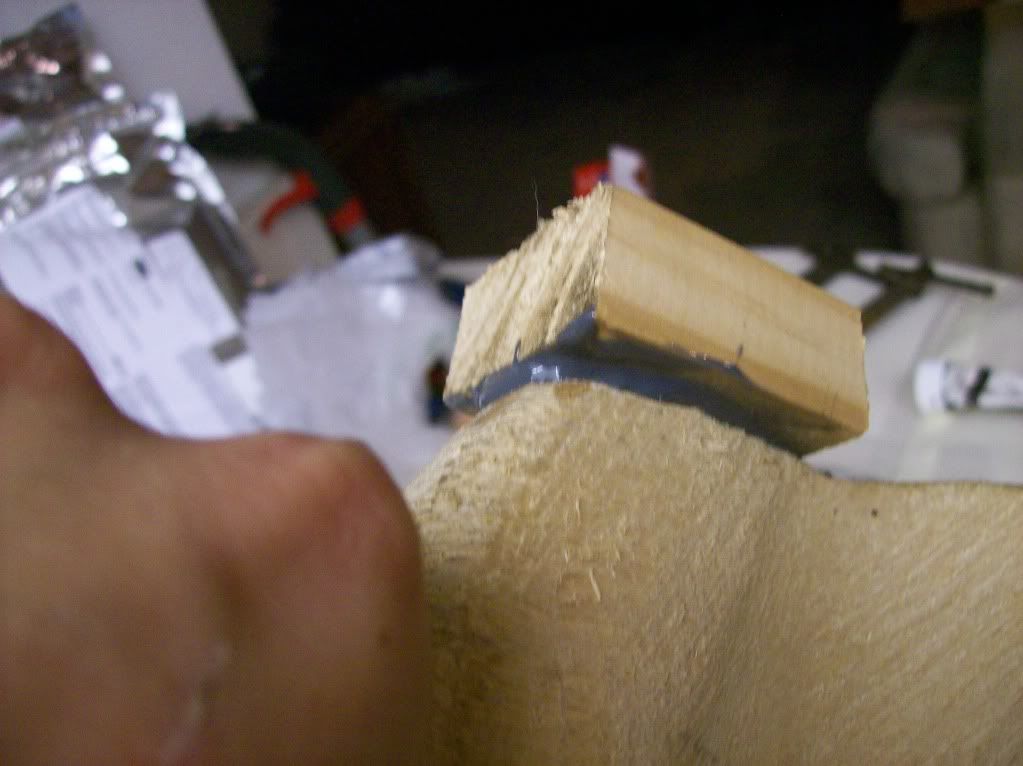
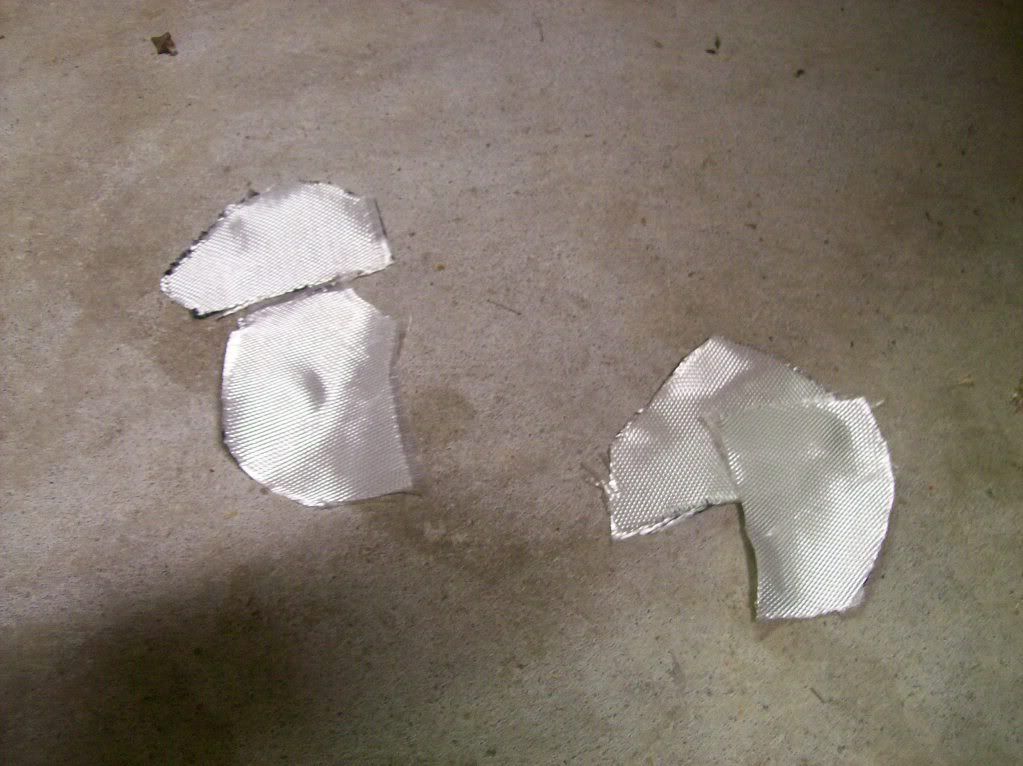
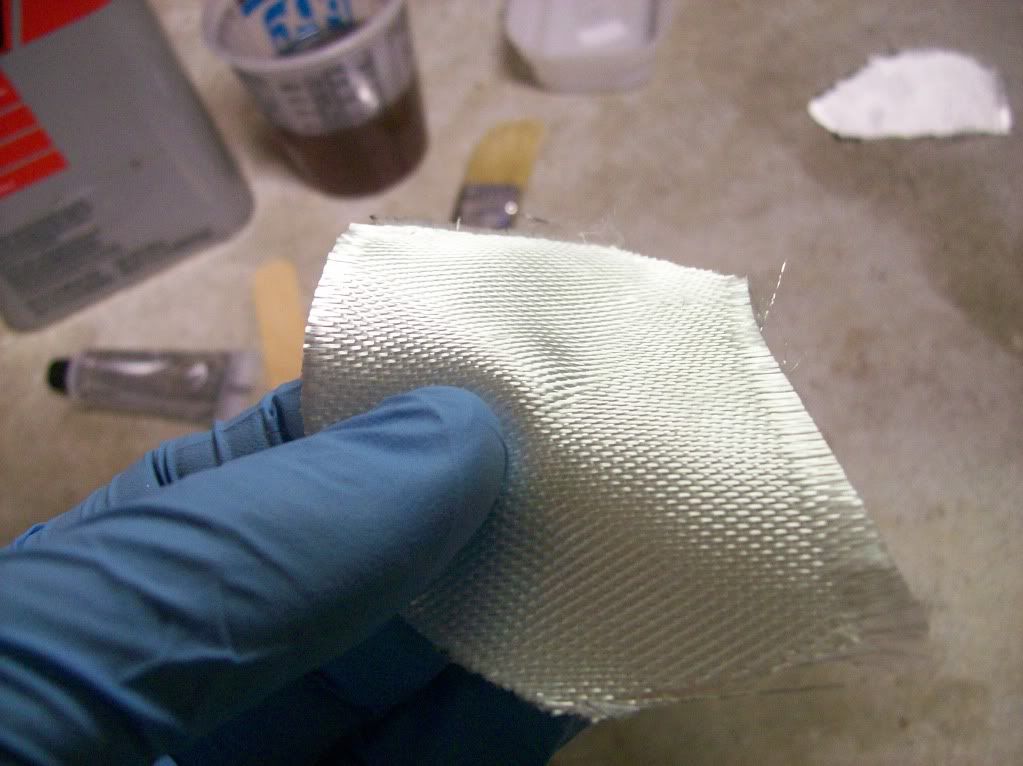
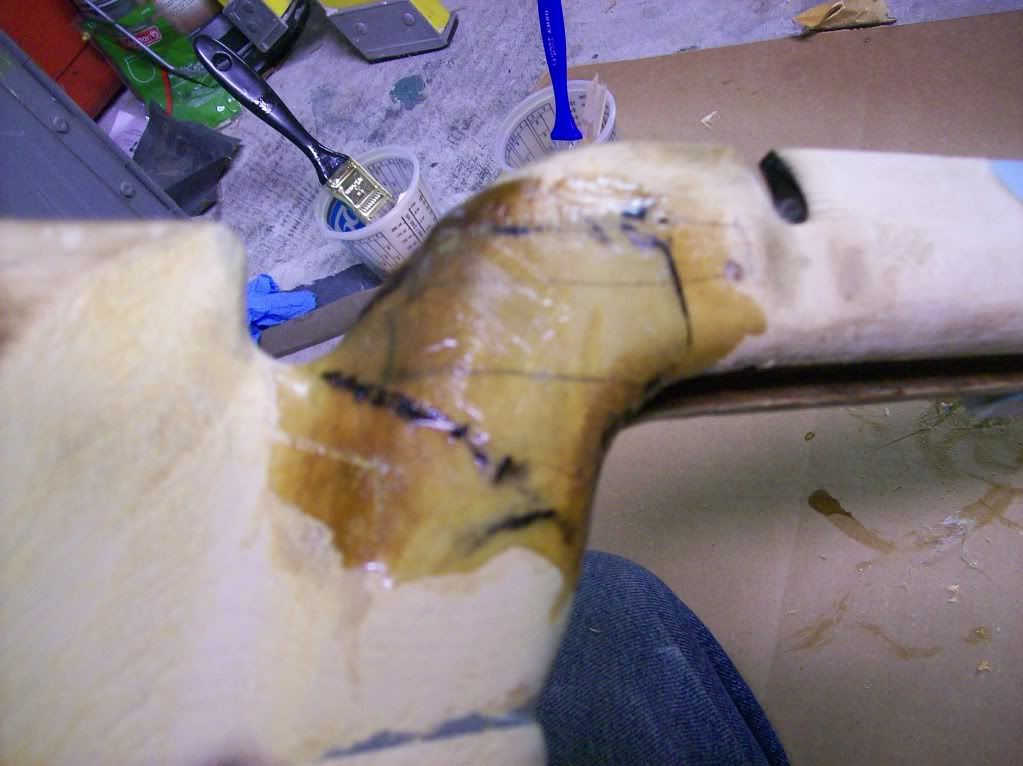
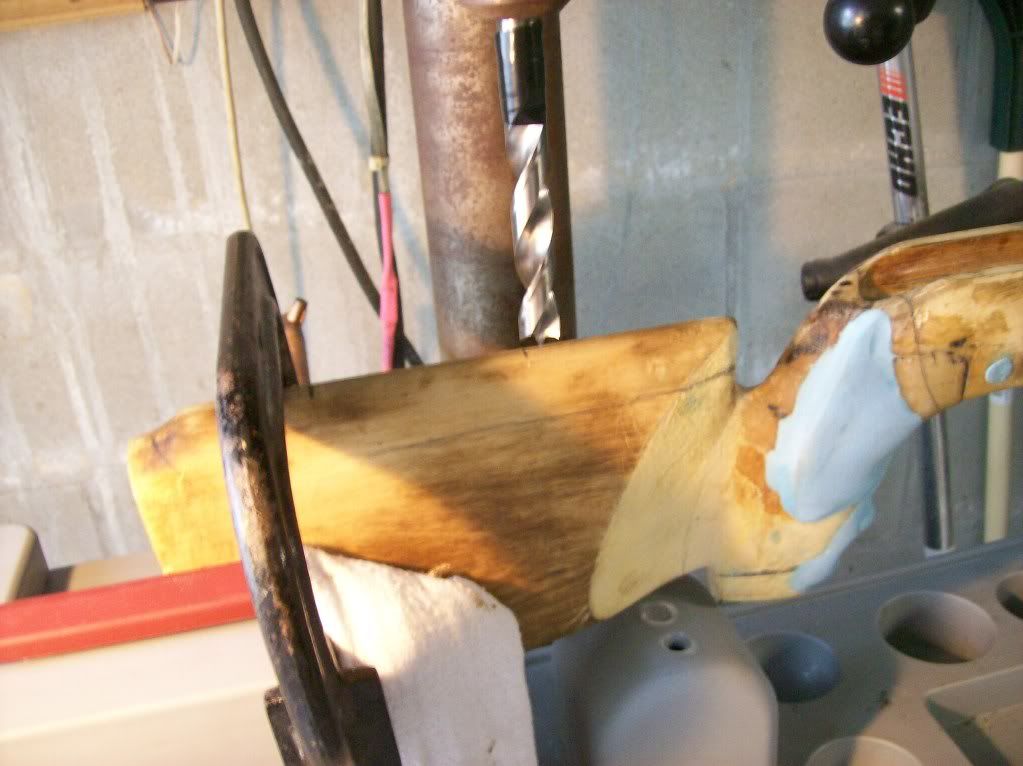
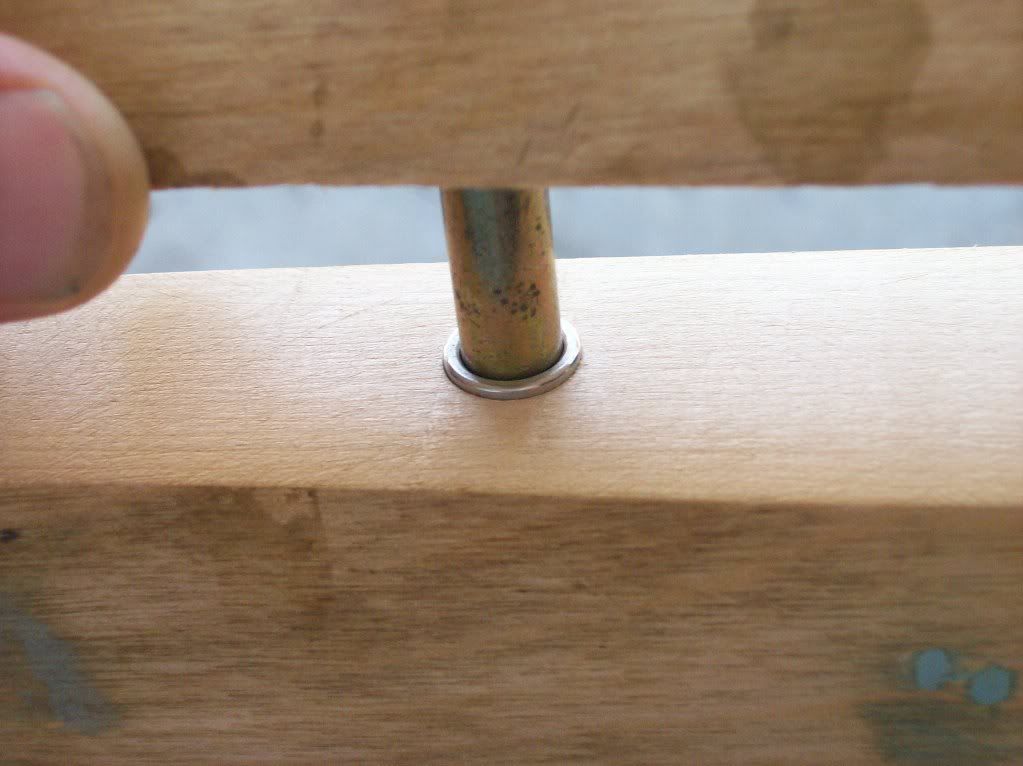
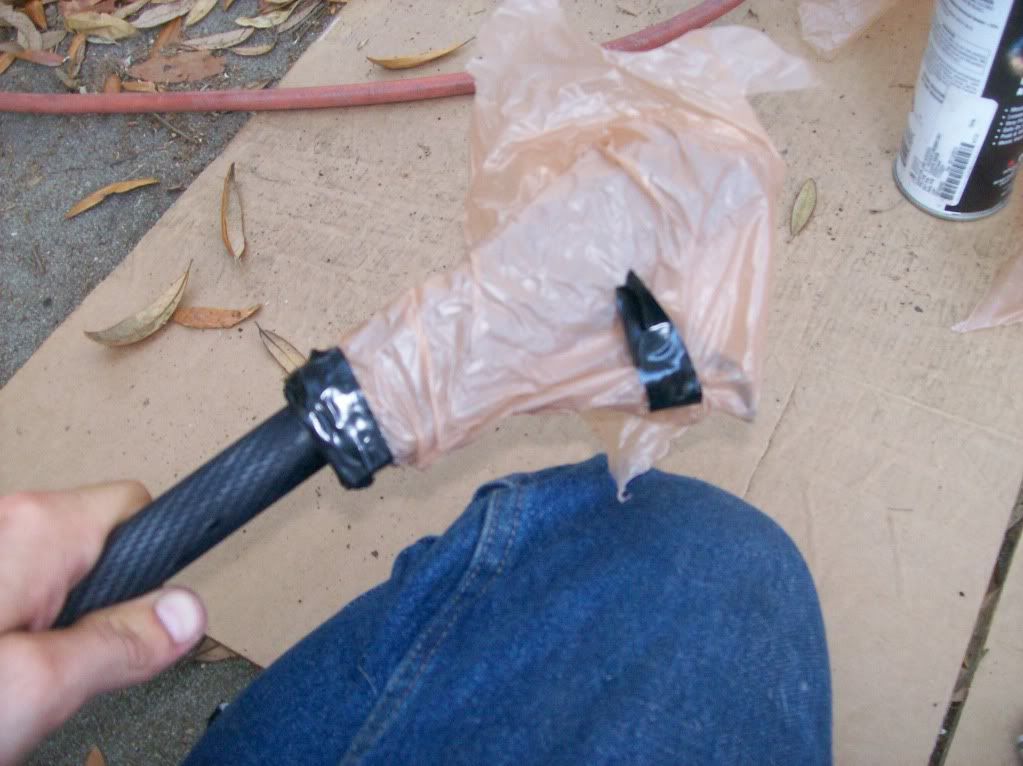
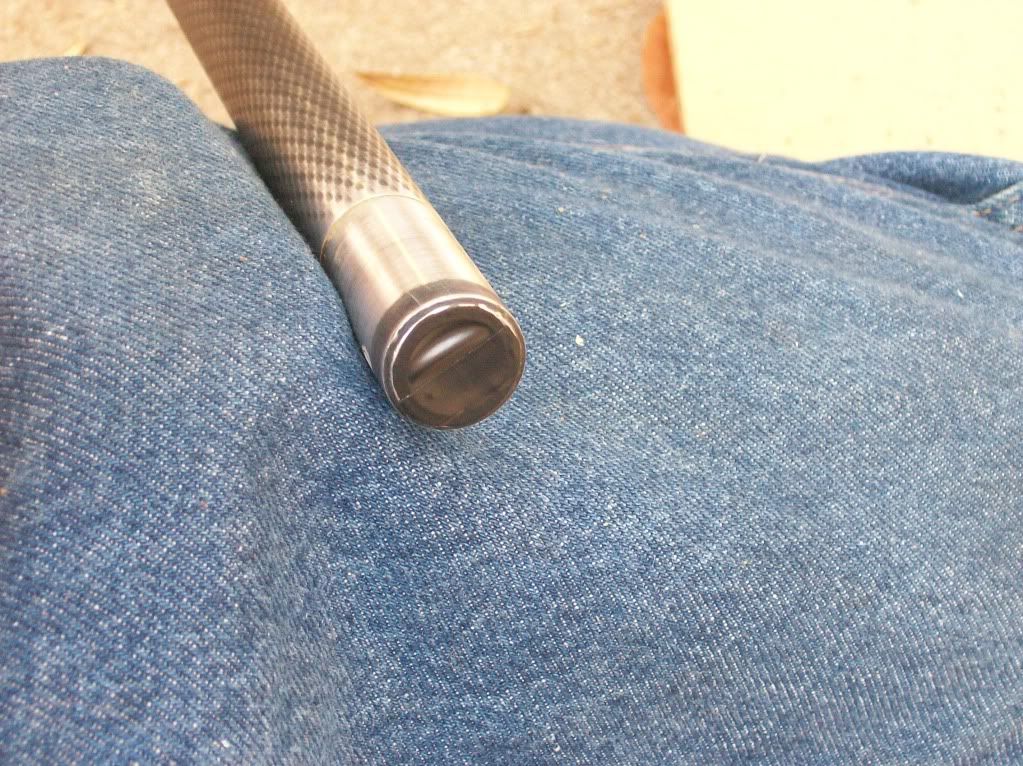
Here are some pictures of the stock before I glued it back together.
![Image]()
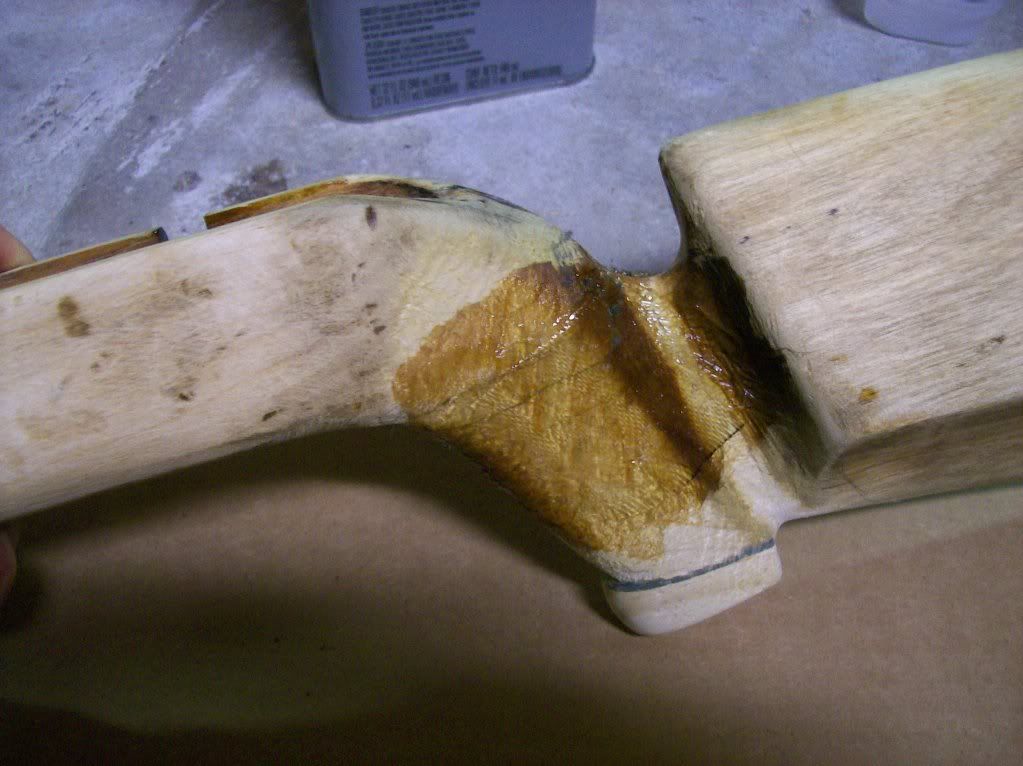
The crack was completely through the stock. The only thing holding it together was a machine screw someone put through the grip in the past.
http://i1146.photobucket.com/albums/o538/Kurt_Bendlin/104_0523.jpg[/IMG
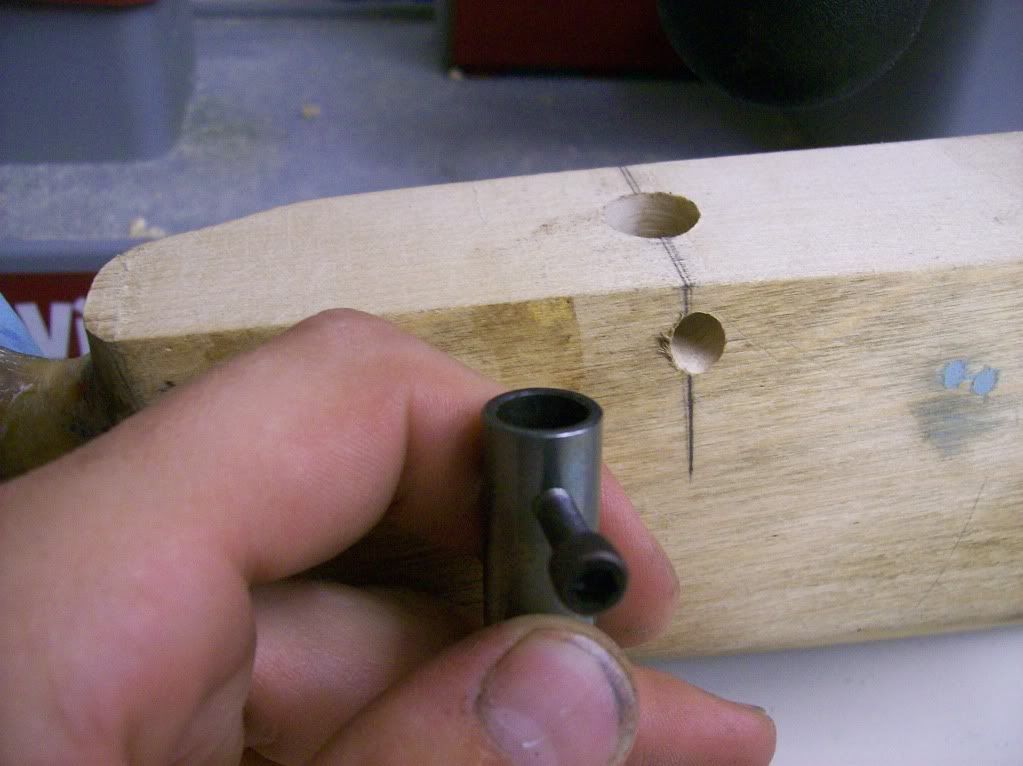
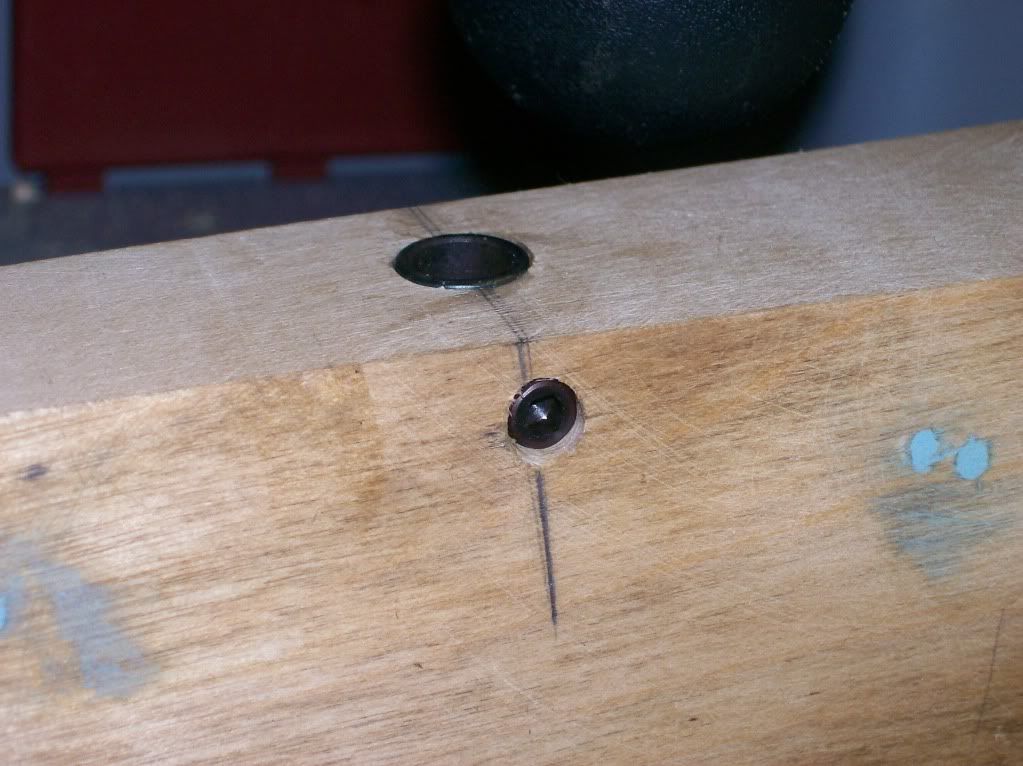
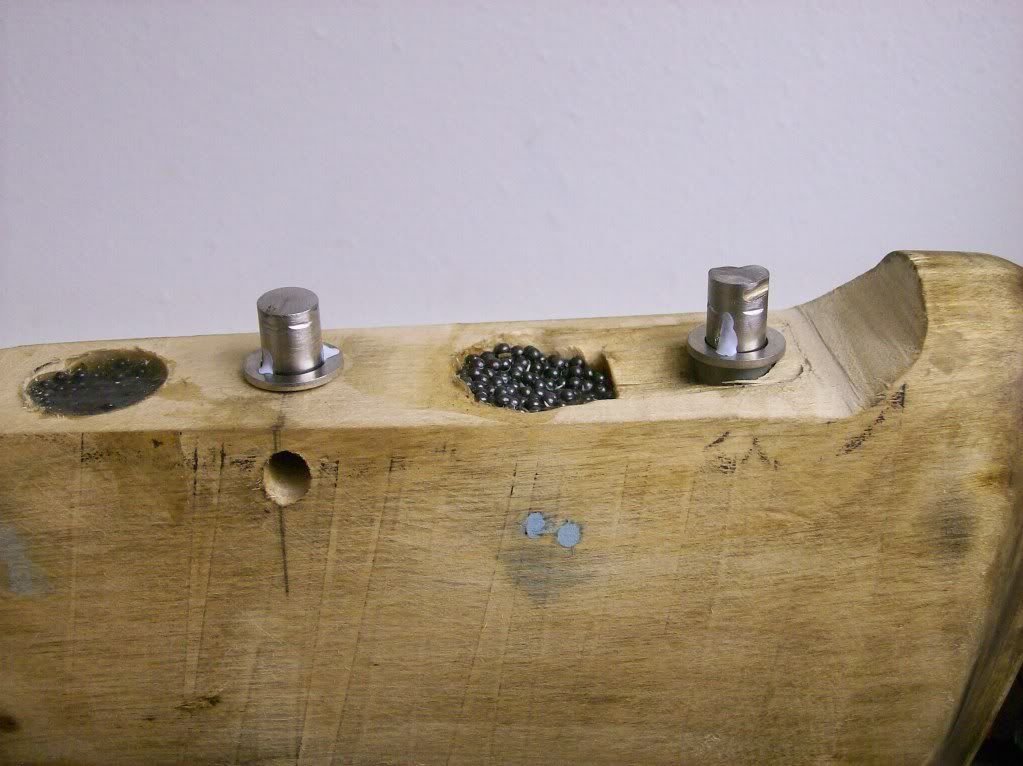
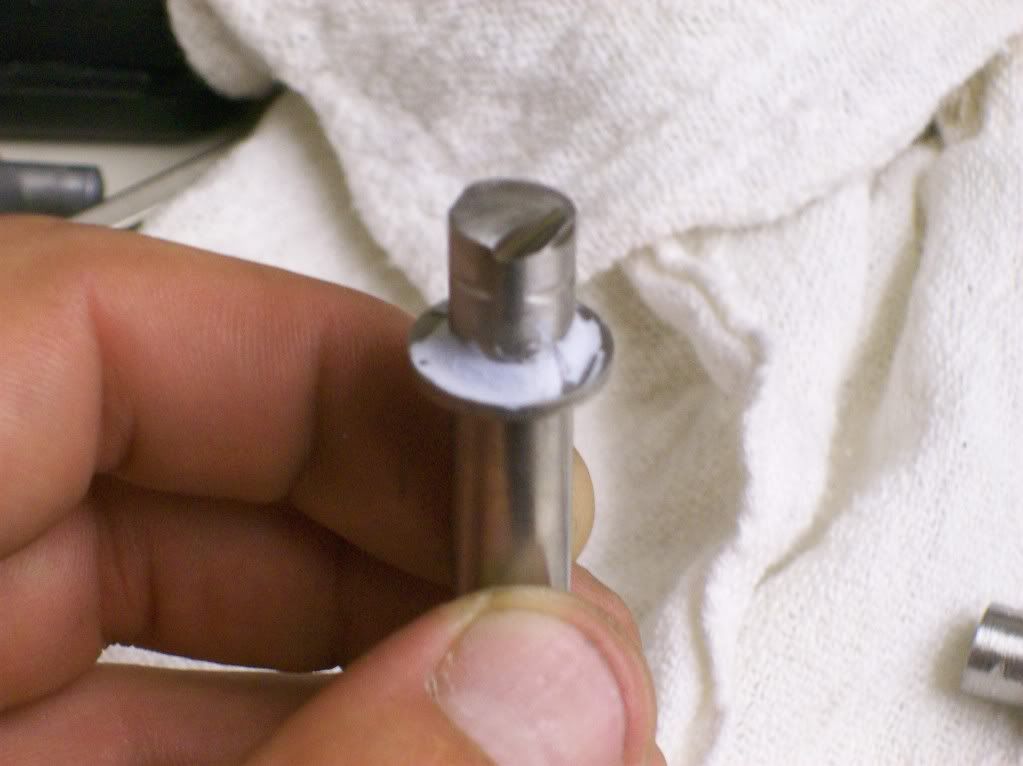
It took quite a lot of effort to get that screw out. I ended up having to drill a hole next to it and wiggled it out.
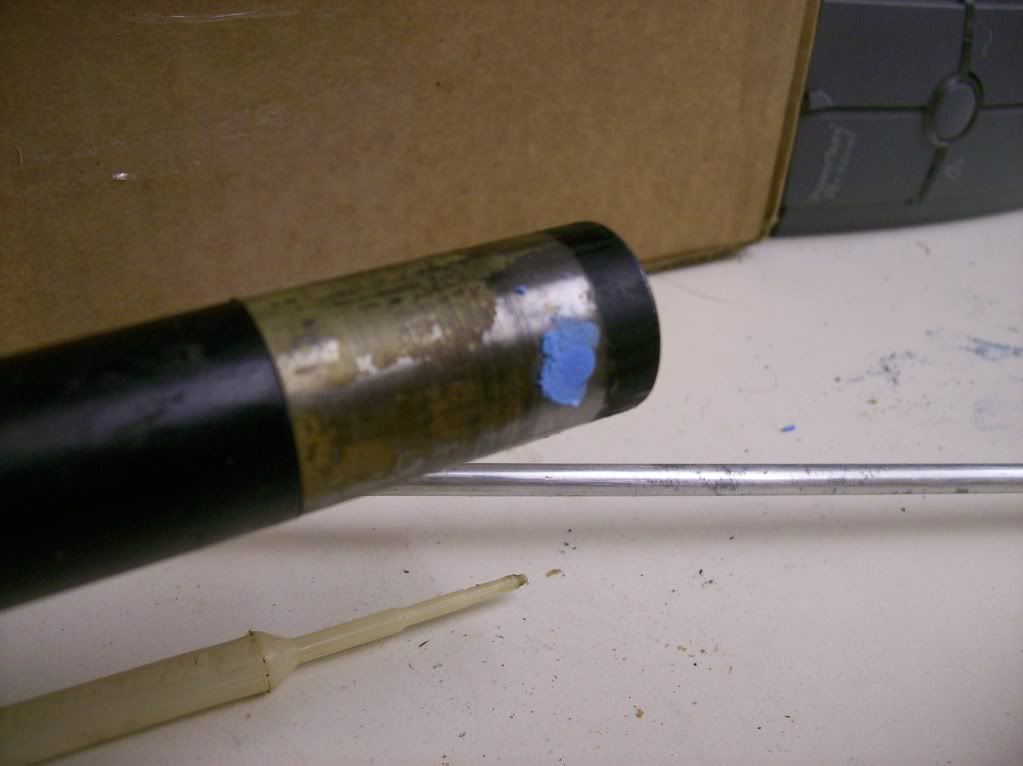
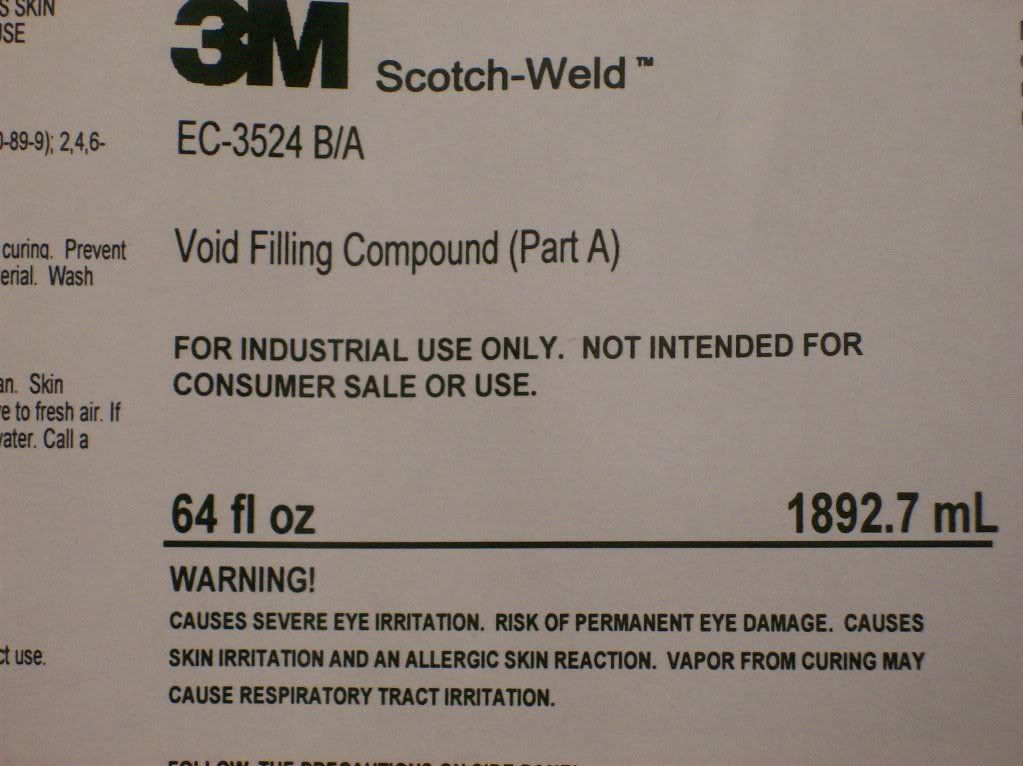
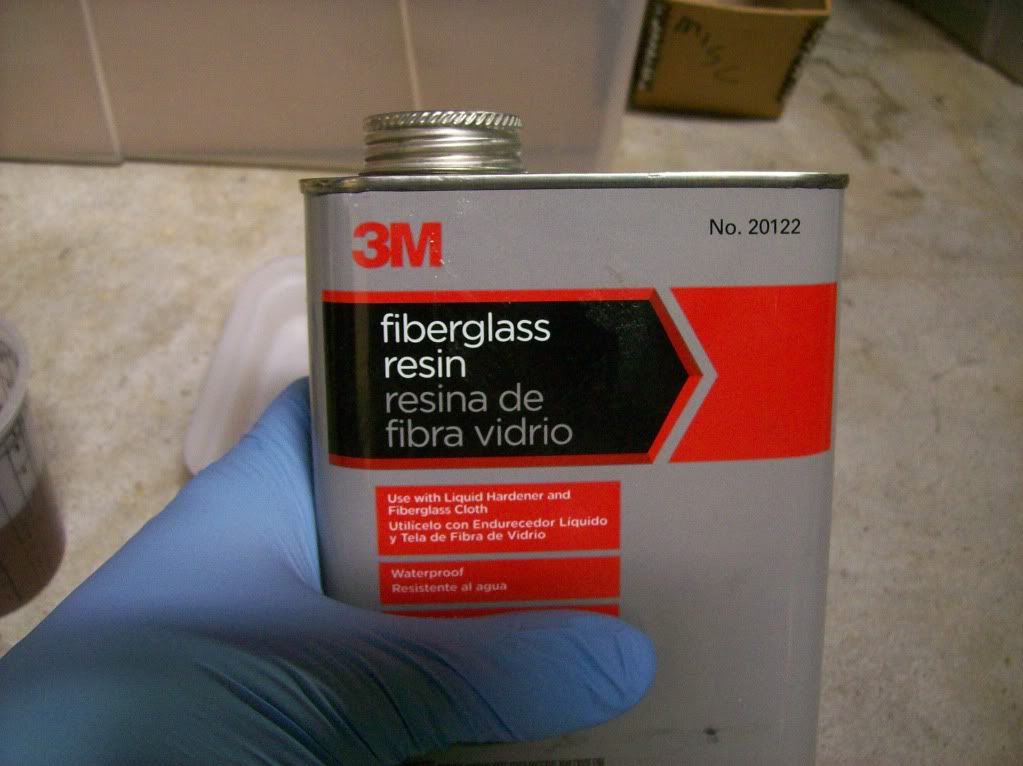
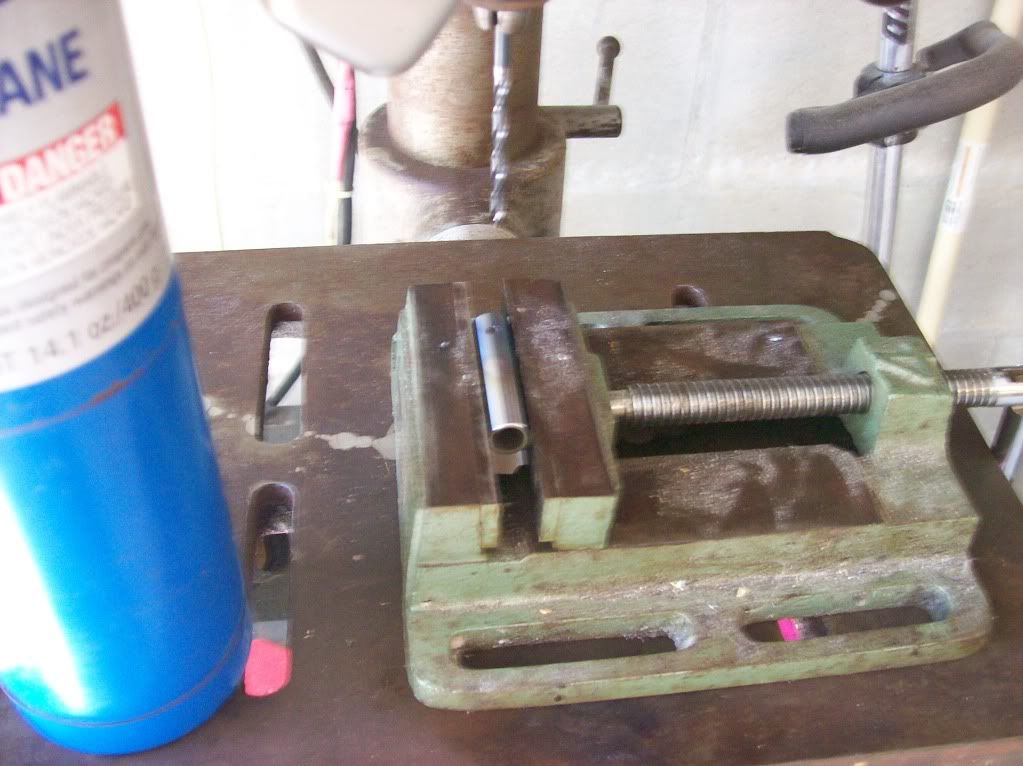
Here is a picture of the box for the epoxy I used to glue the stock.
[IMG]http://i1146.photobucket.com/albums/o538/Kurt_Bendlin/104_0526.jpg
The epoxy worked very well, it takes 48 hours to fully cure and has a nice work time too. It takes about 90 minutes before it tacks. I chose this epoxy for its strength, flexibility, and work time.
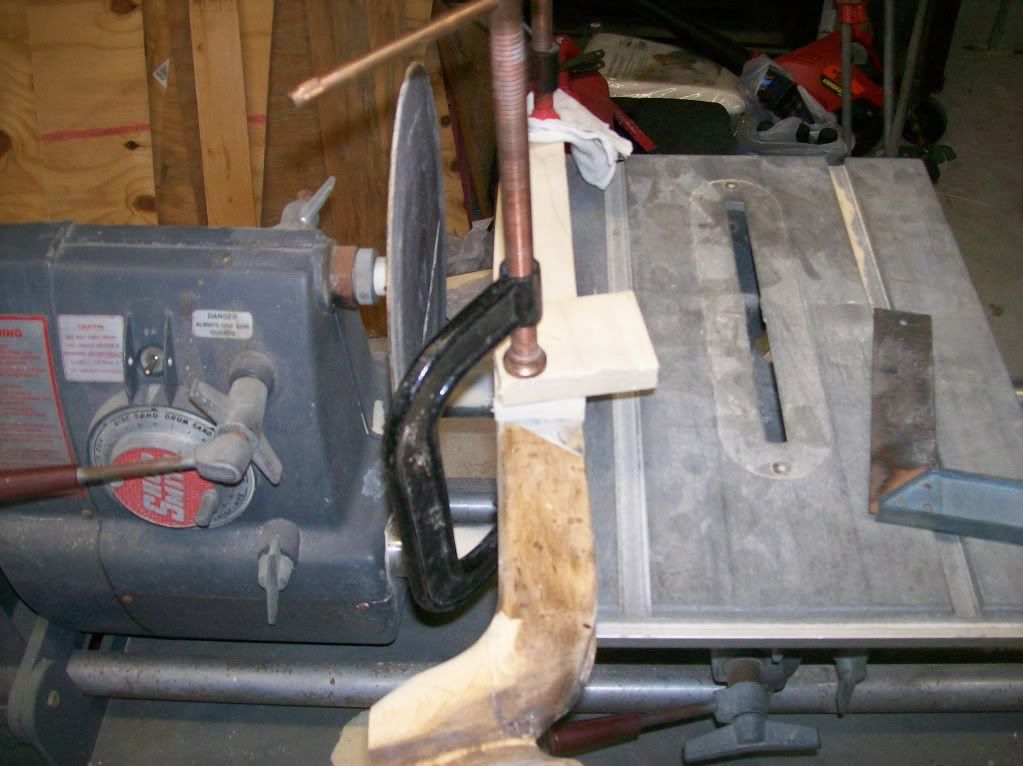
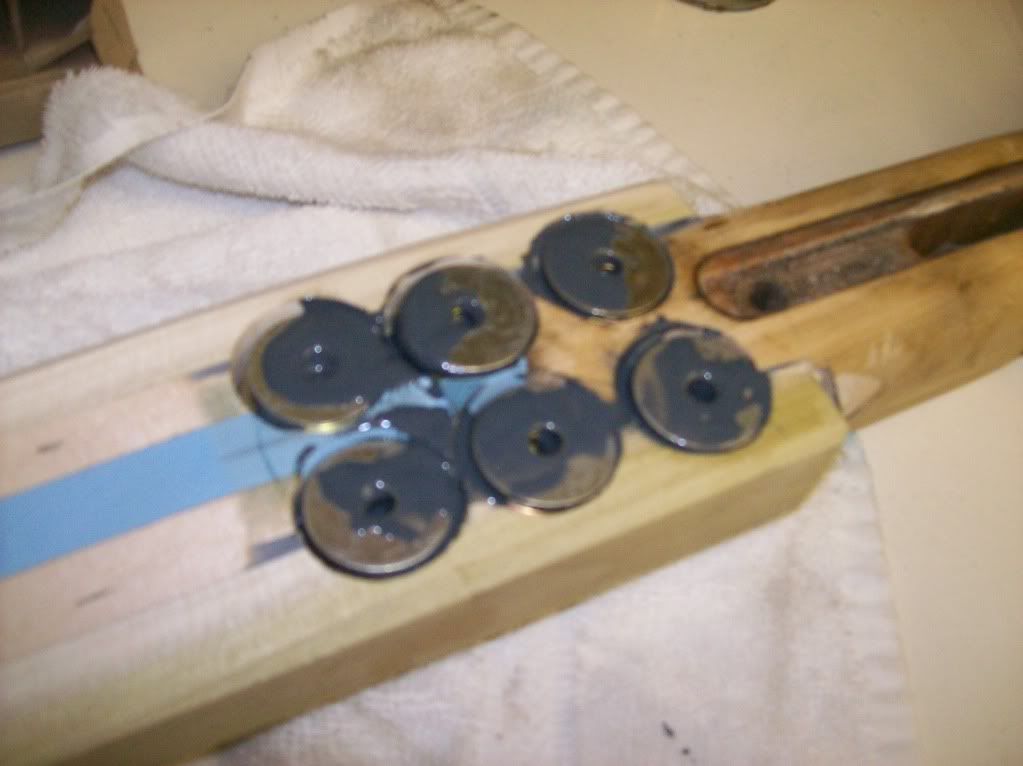
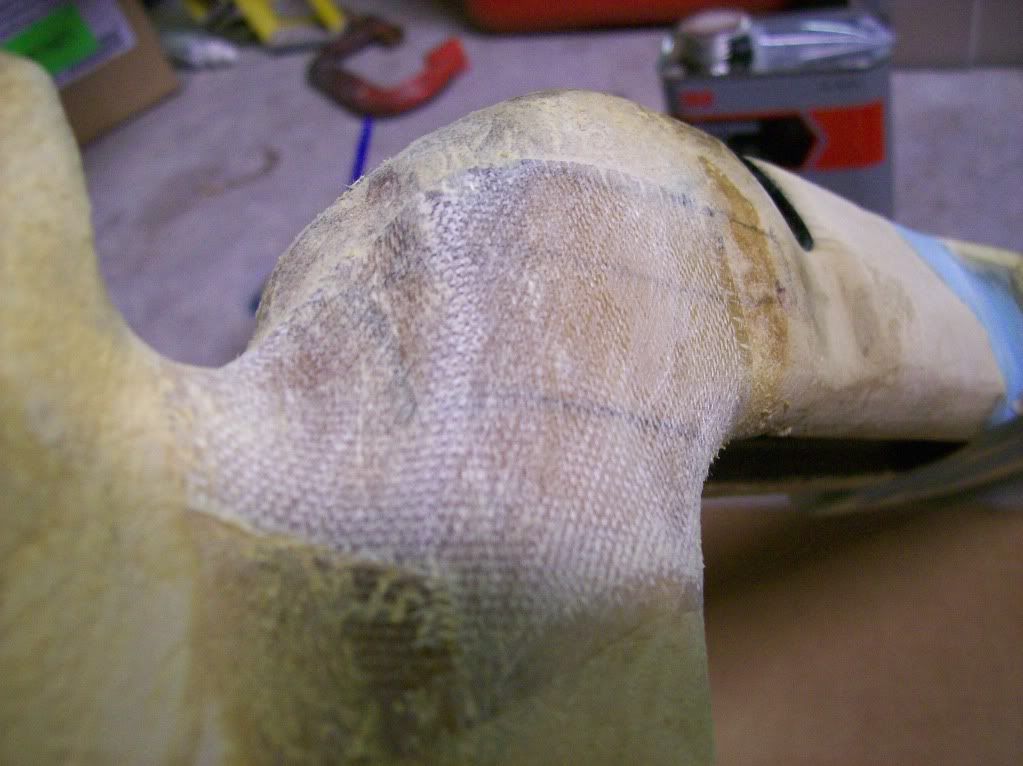
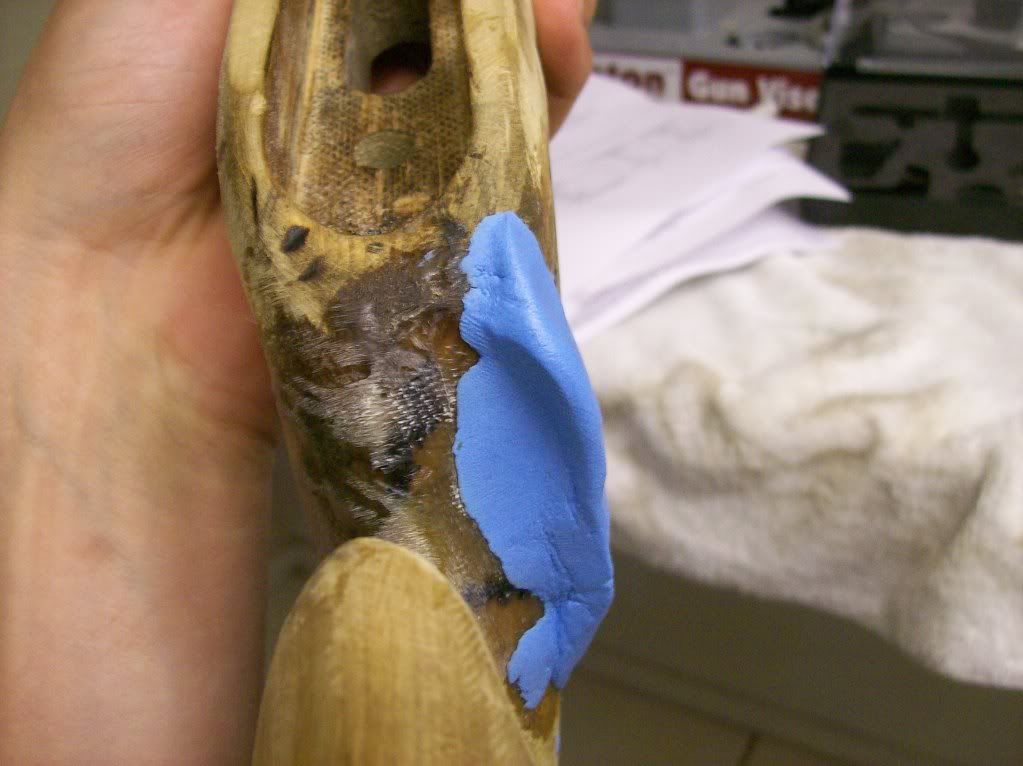
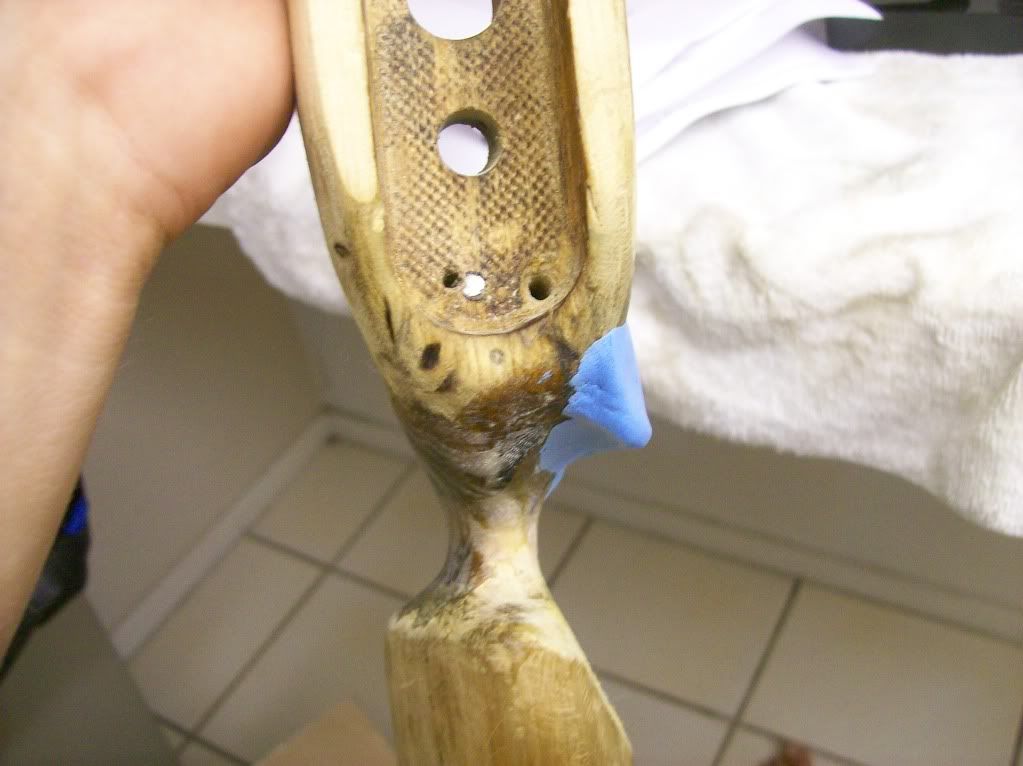
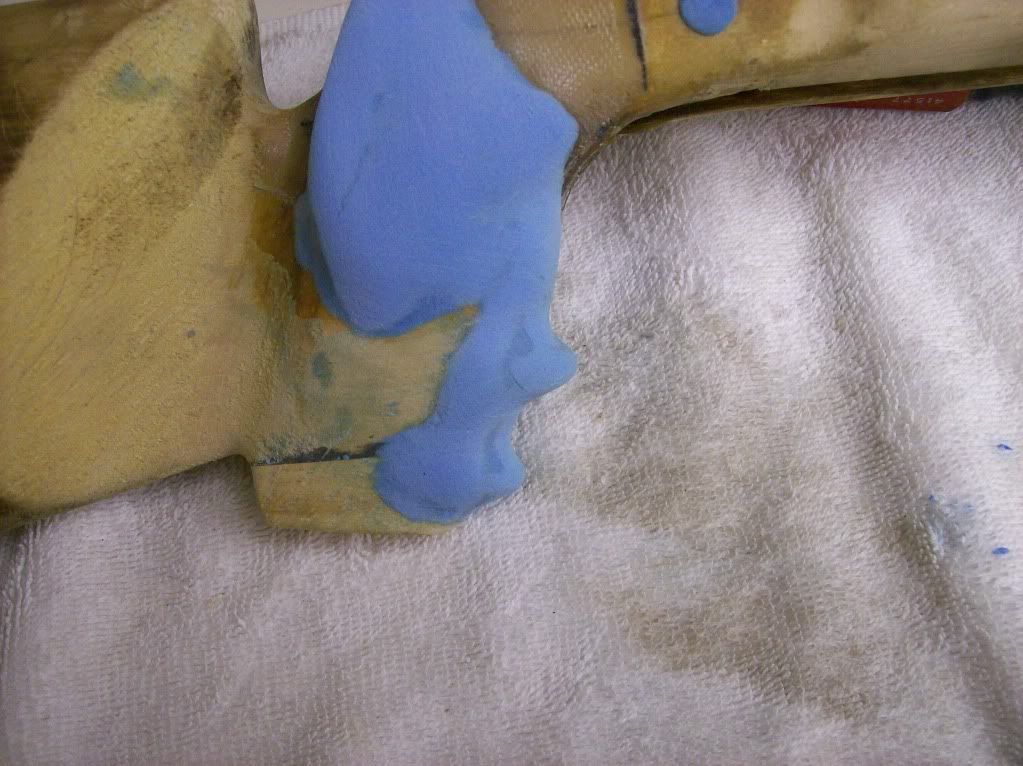
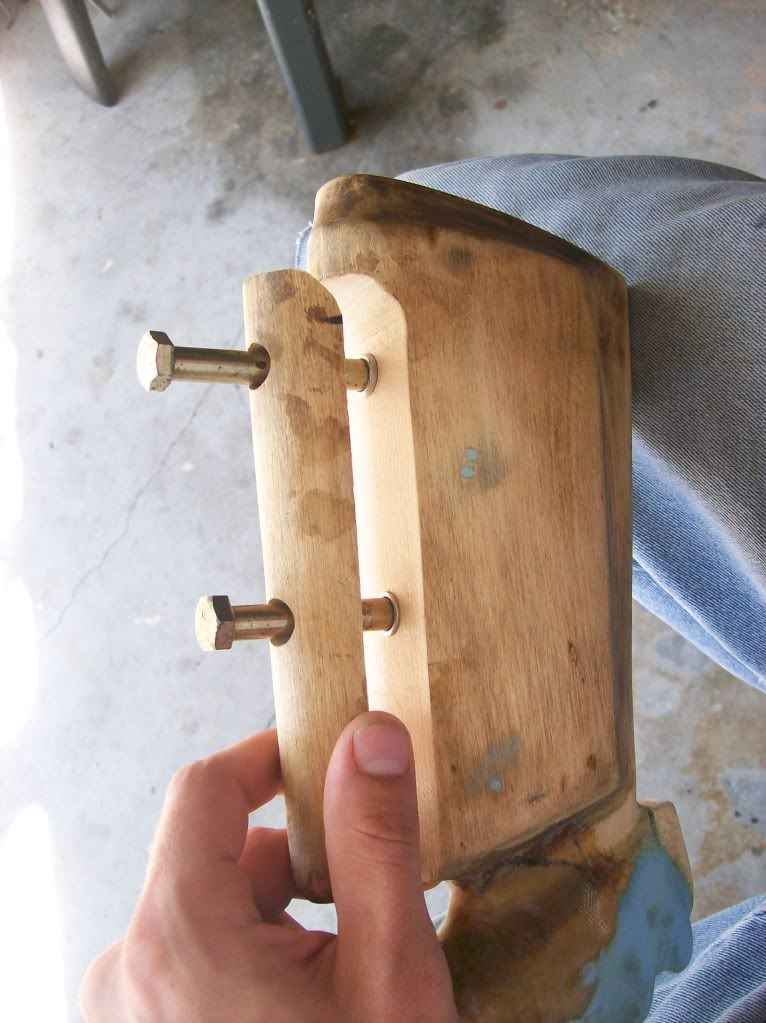
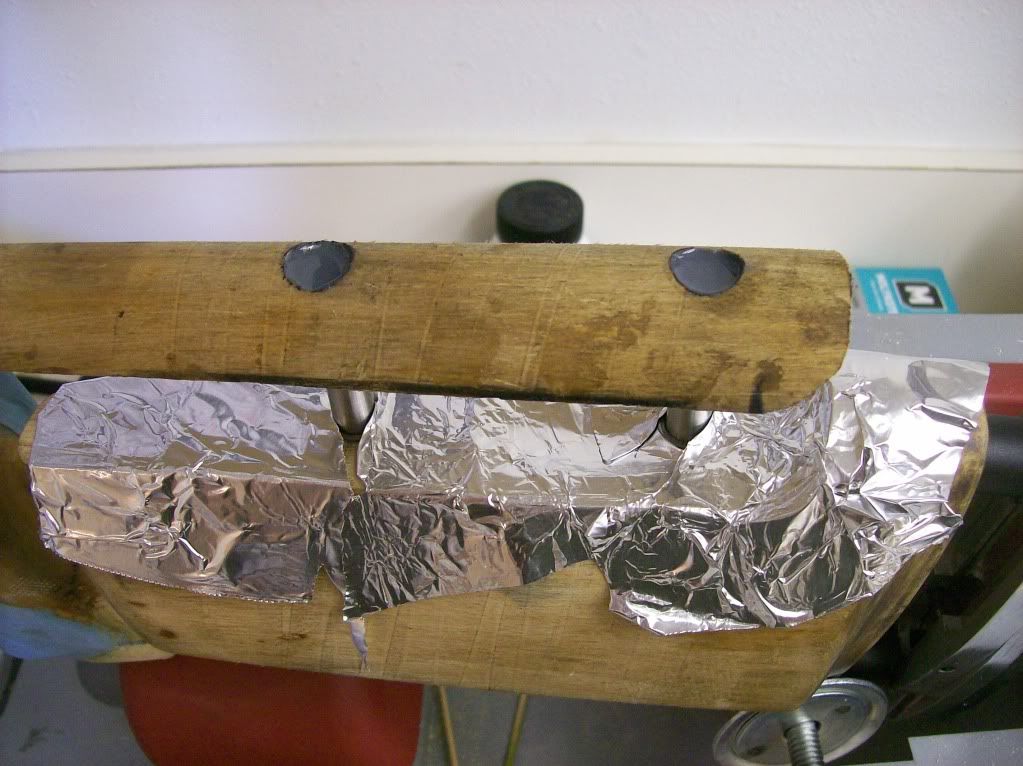
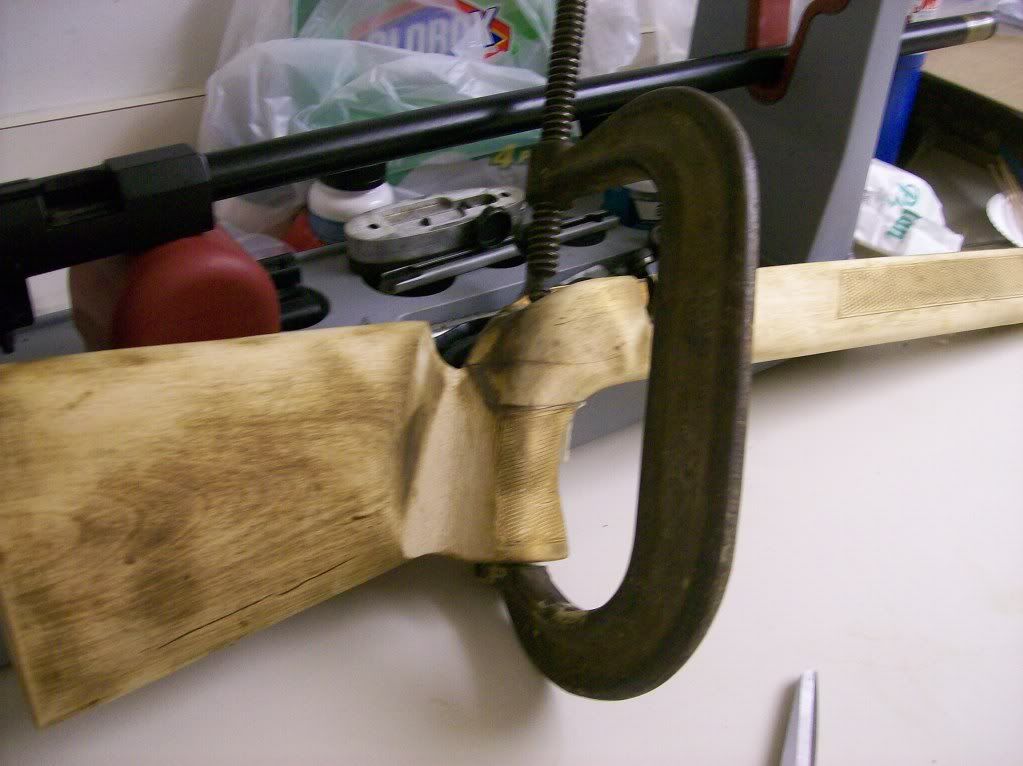
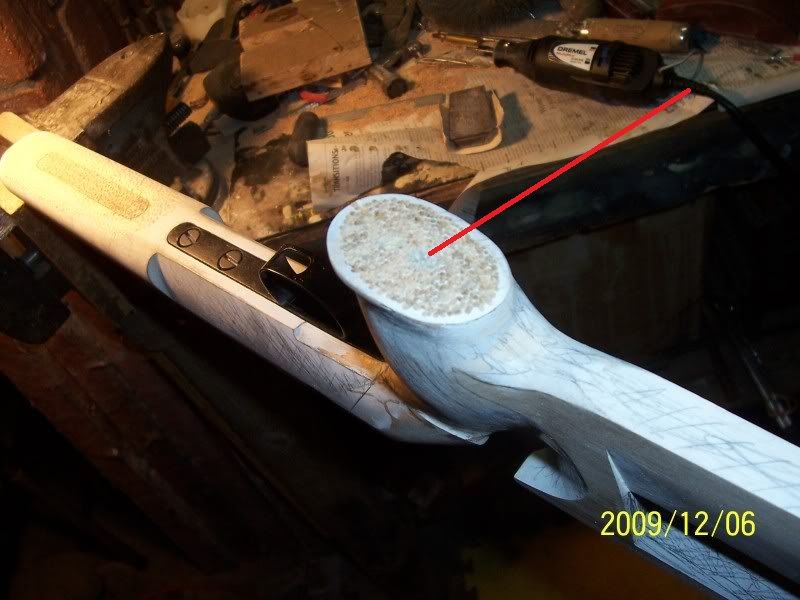
Here is a picture of the rifle while it was clamped. I used a stack of washers inside of the action inlet to prevent denting the wood. There are many holes to be filled still.
![Image]()
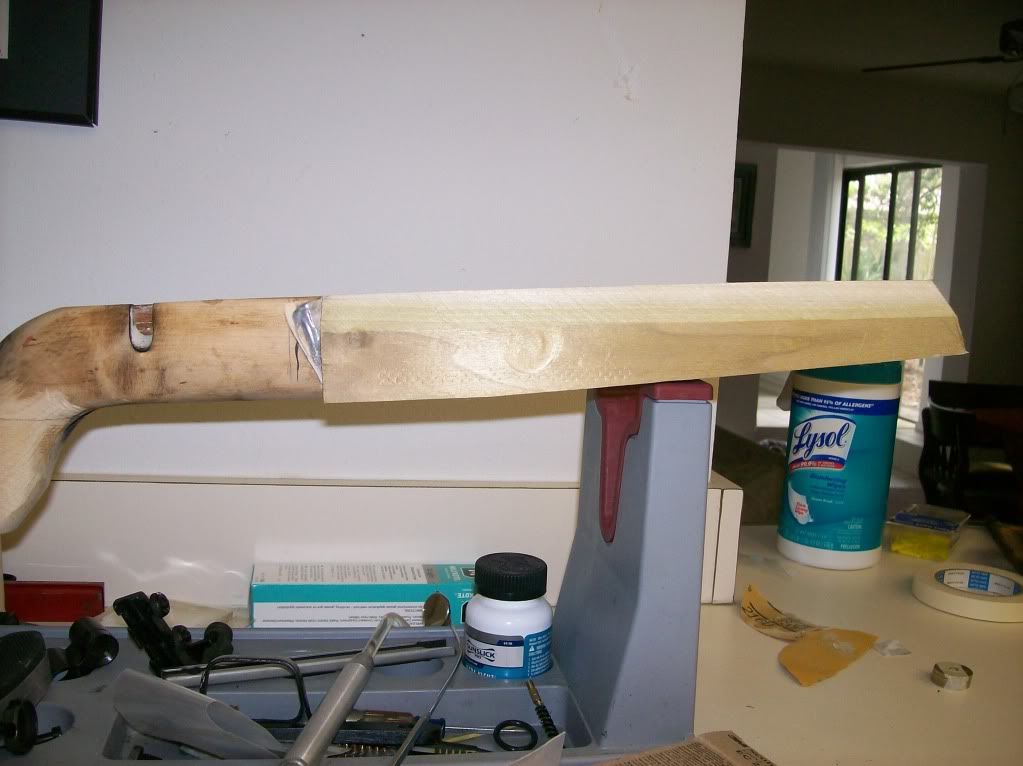
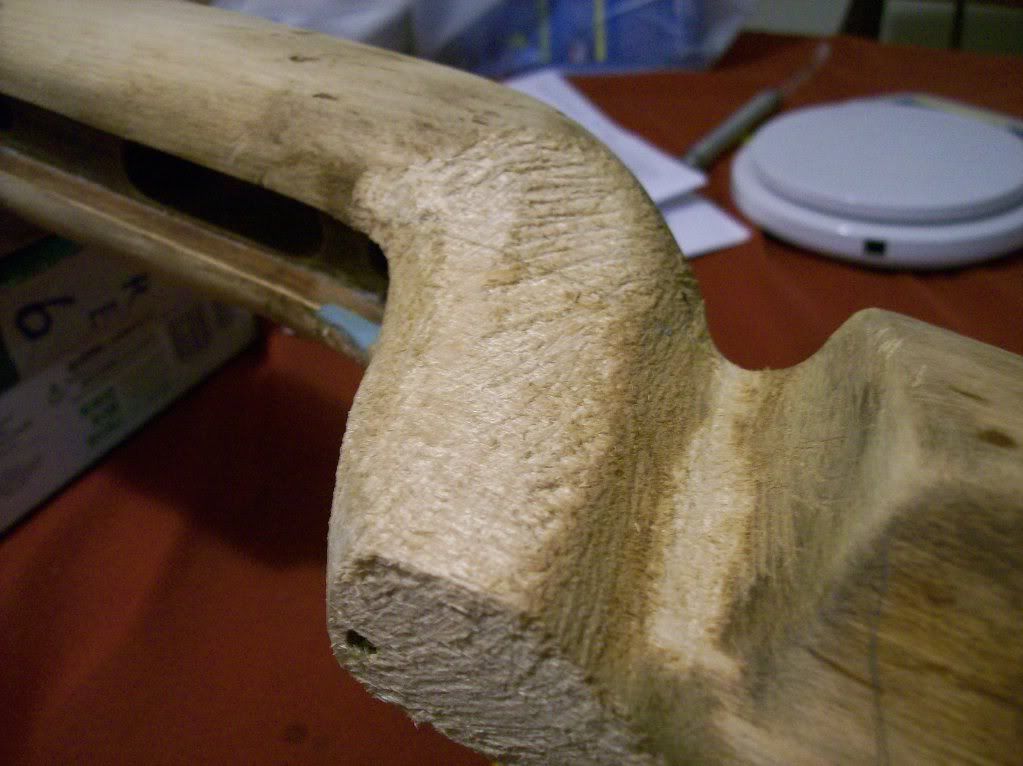
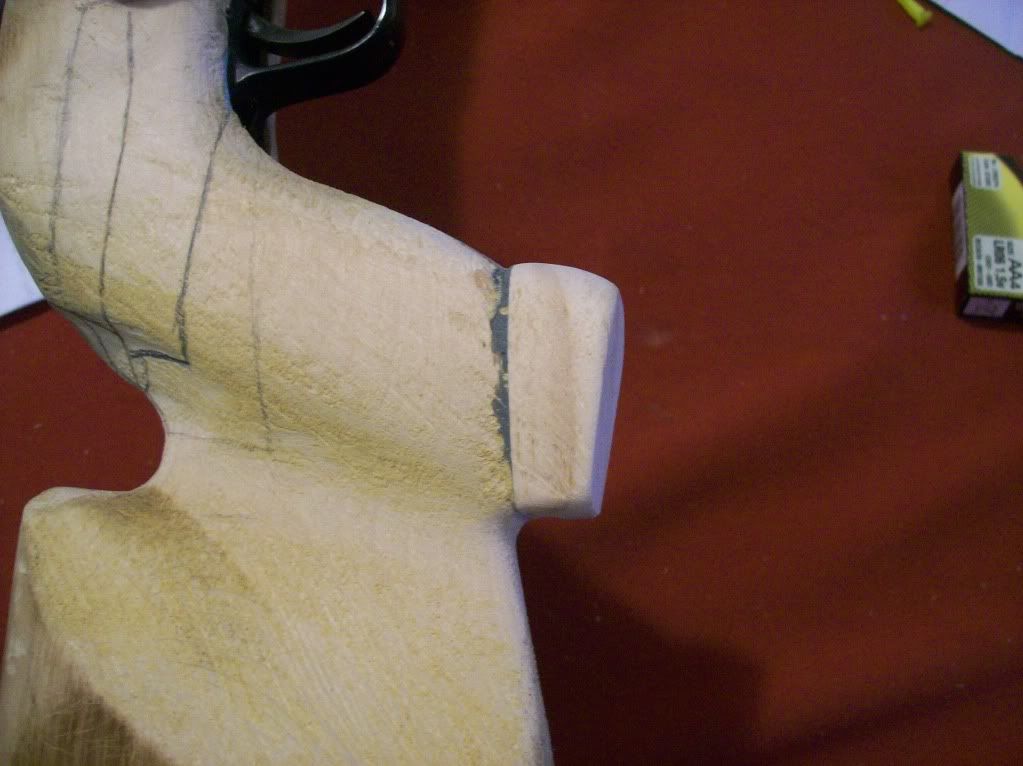
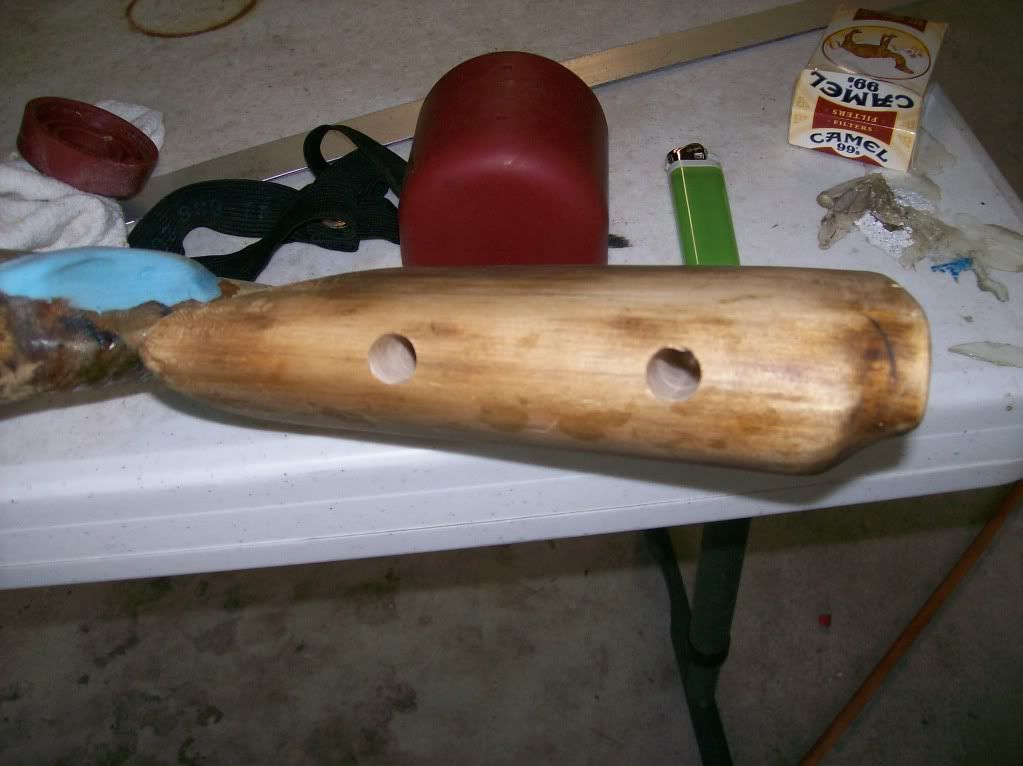
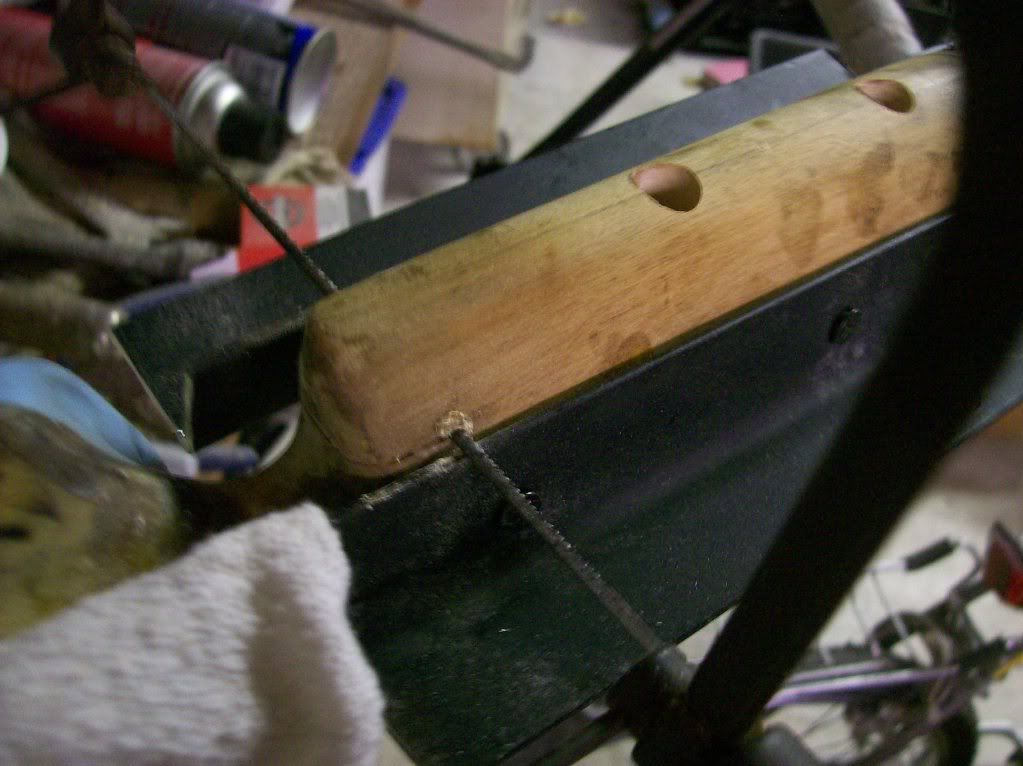
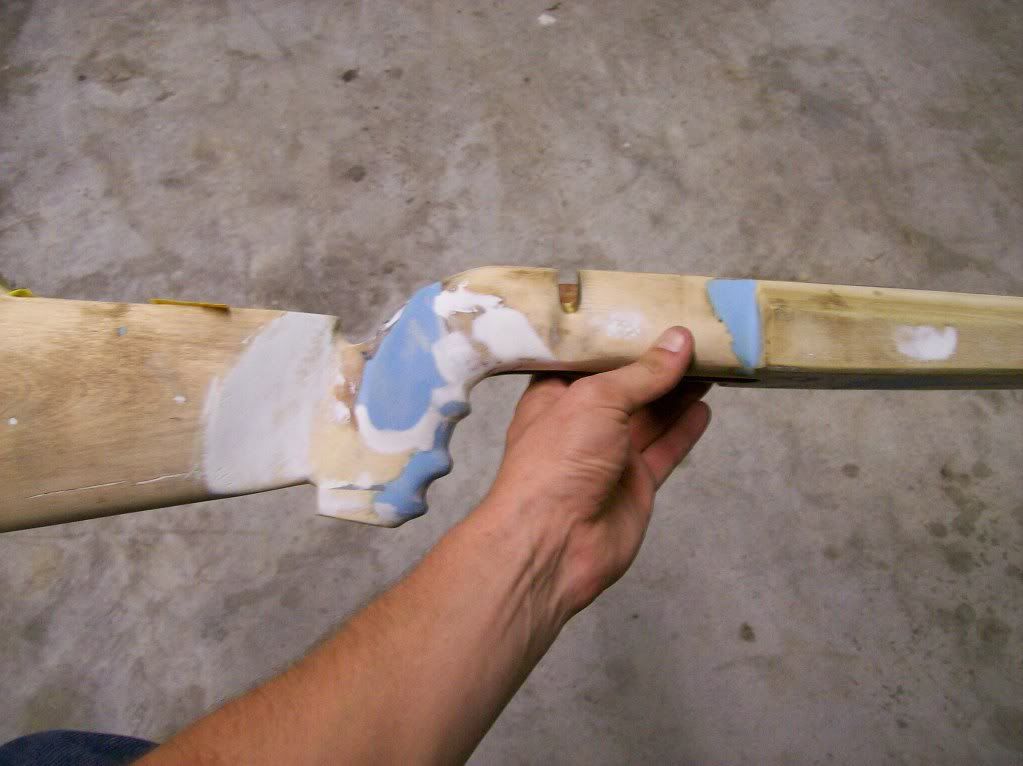
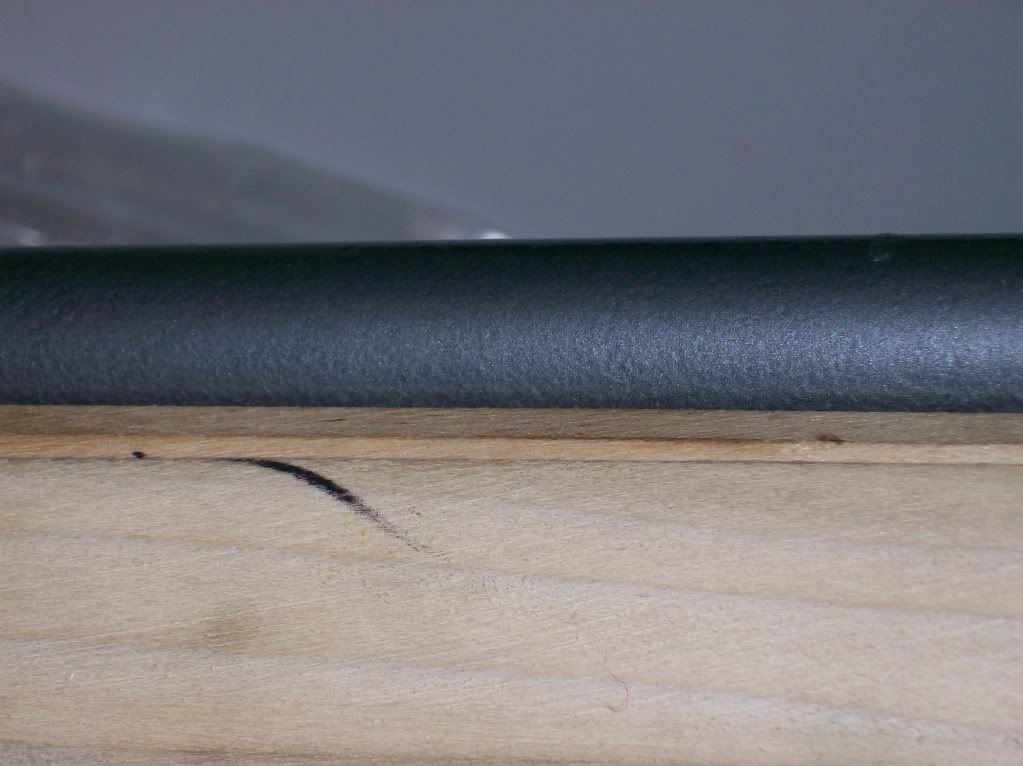
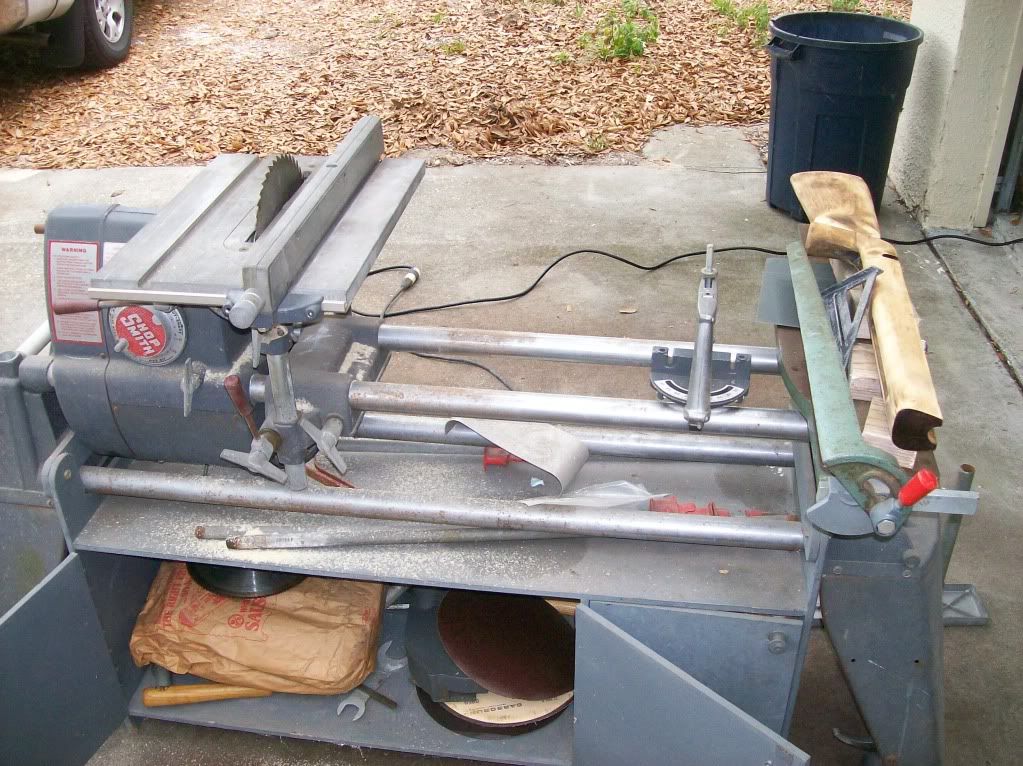
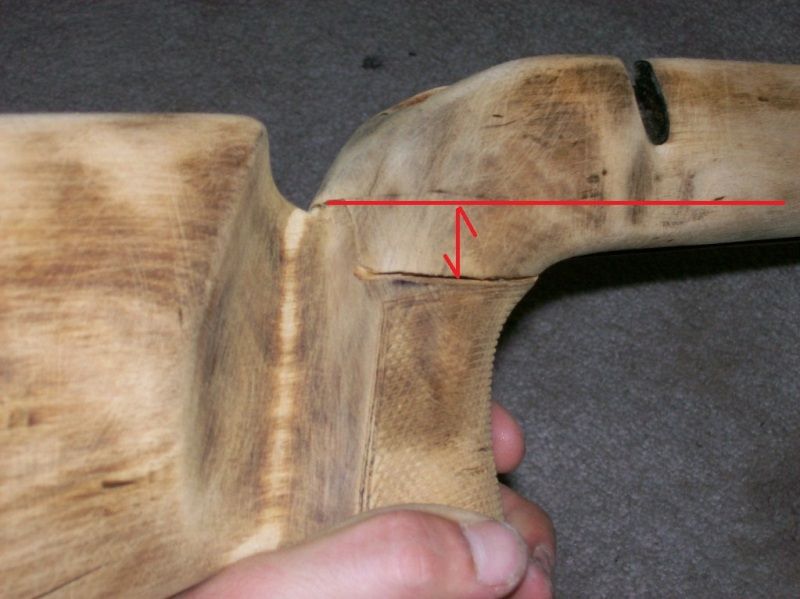
Straight lines did not exist on this stock. The closest thing to straight was the top of the barrel channel. I used this as a reference to start trying to get the front end of the stock somewhat square. My father "bobleeswagger" has been an immense help in working on this project. We got out his shopsmith that had not run in over 20 years and used it to do the work on the front end. I was impressed at how well the machine still worked. We found it easiest to use a sander to remove the bulk of the wood instead of the saw. Here are more photos.
![Image]()
![Image]()
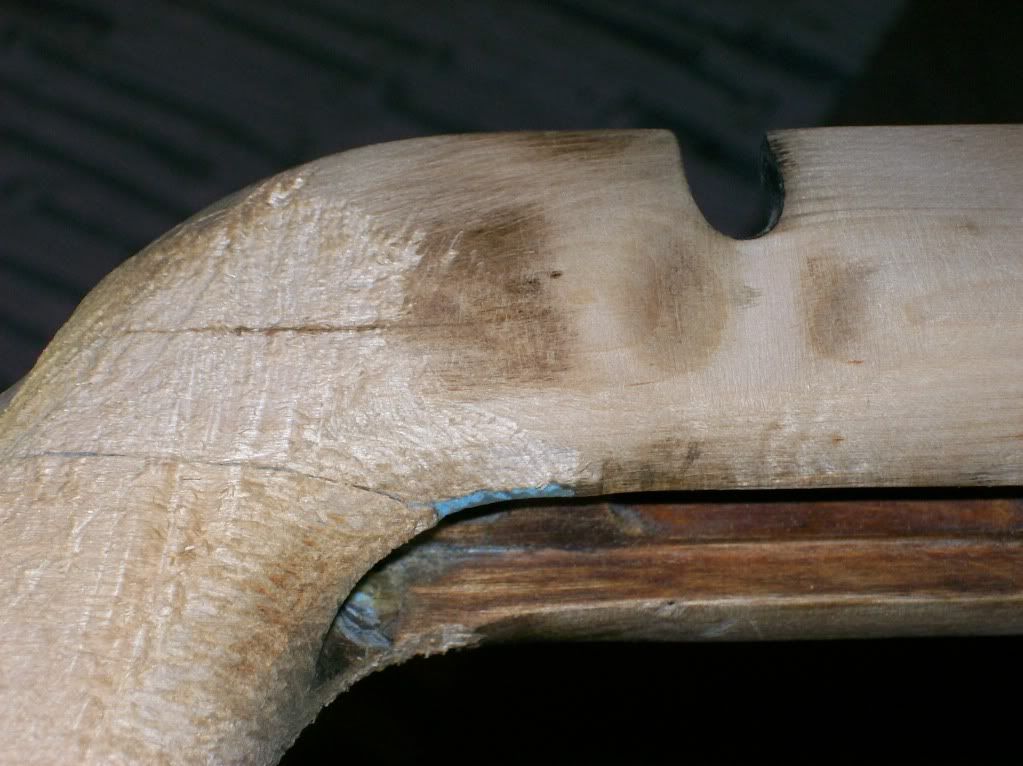
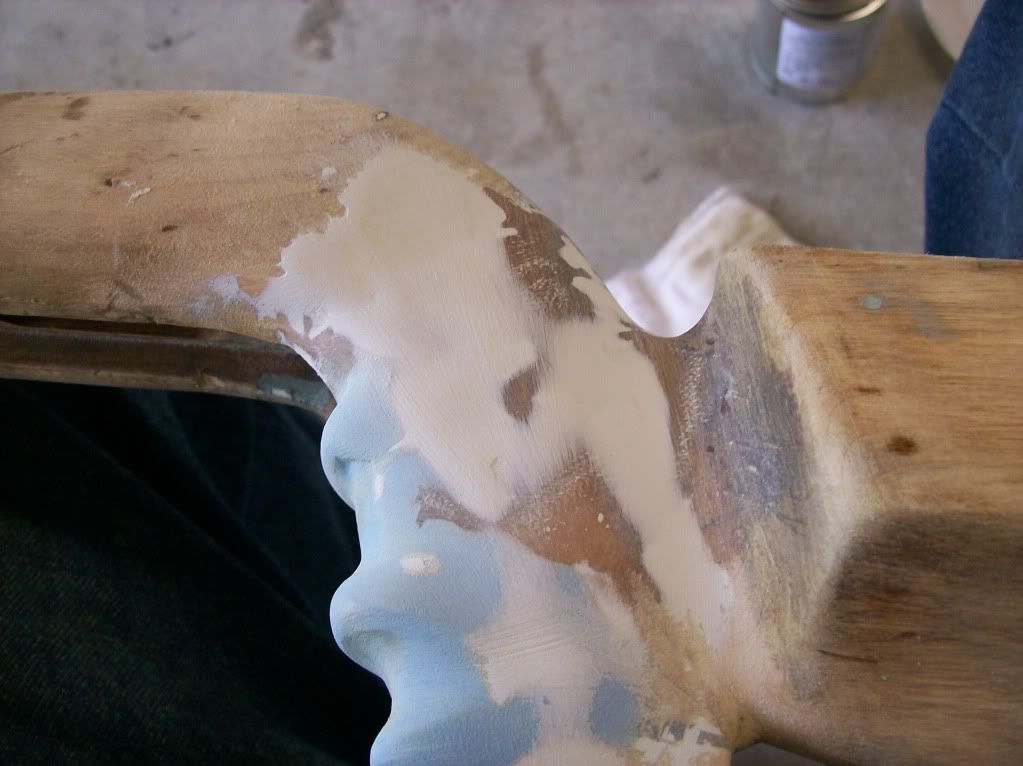
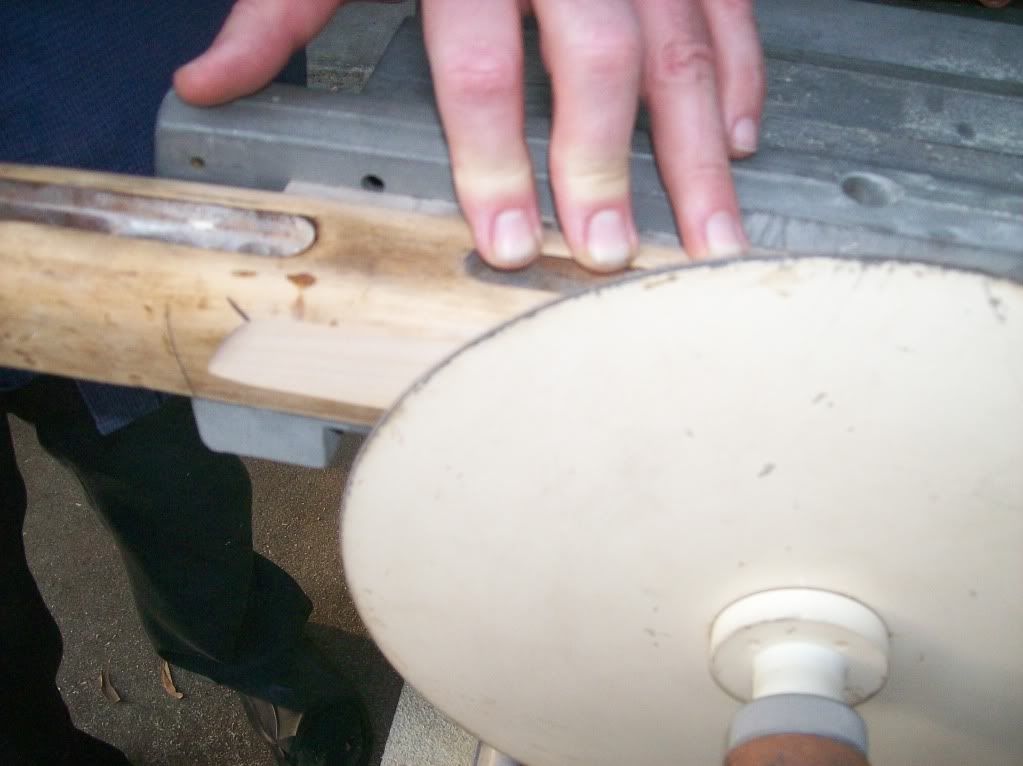
It took a little engineering to get the stock to feed through the sander correctly. We tacked a straight board on the side of the stock to help line things up.
![Image]()
![Image]()
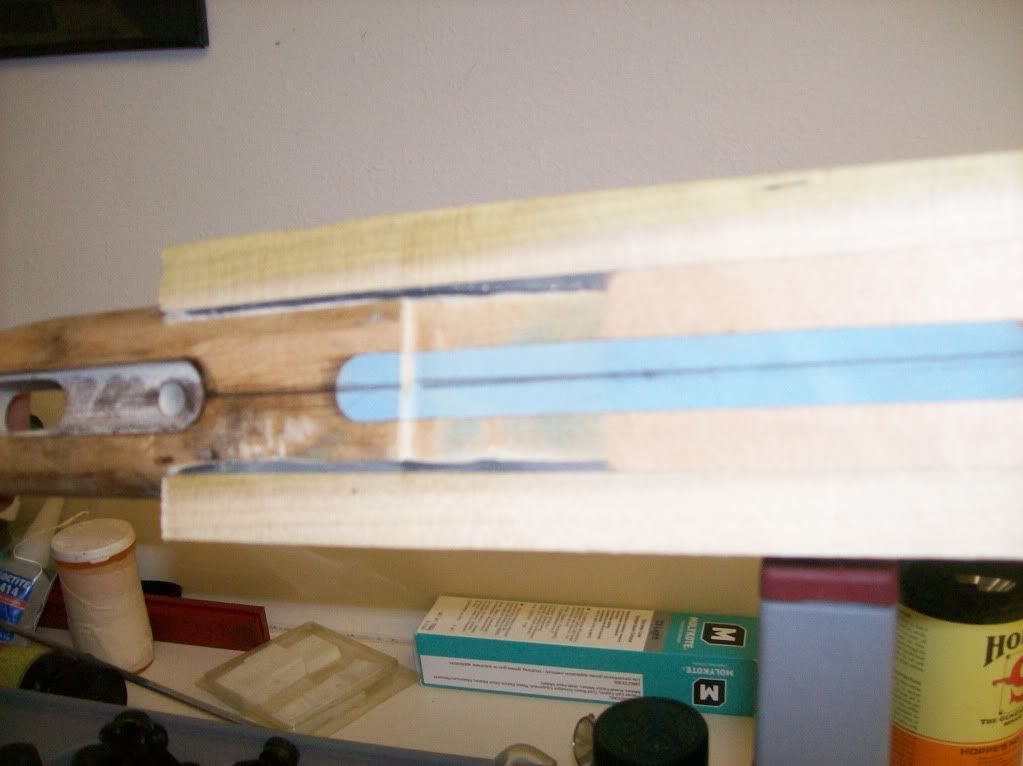
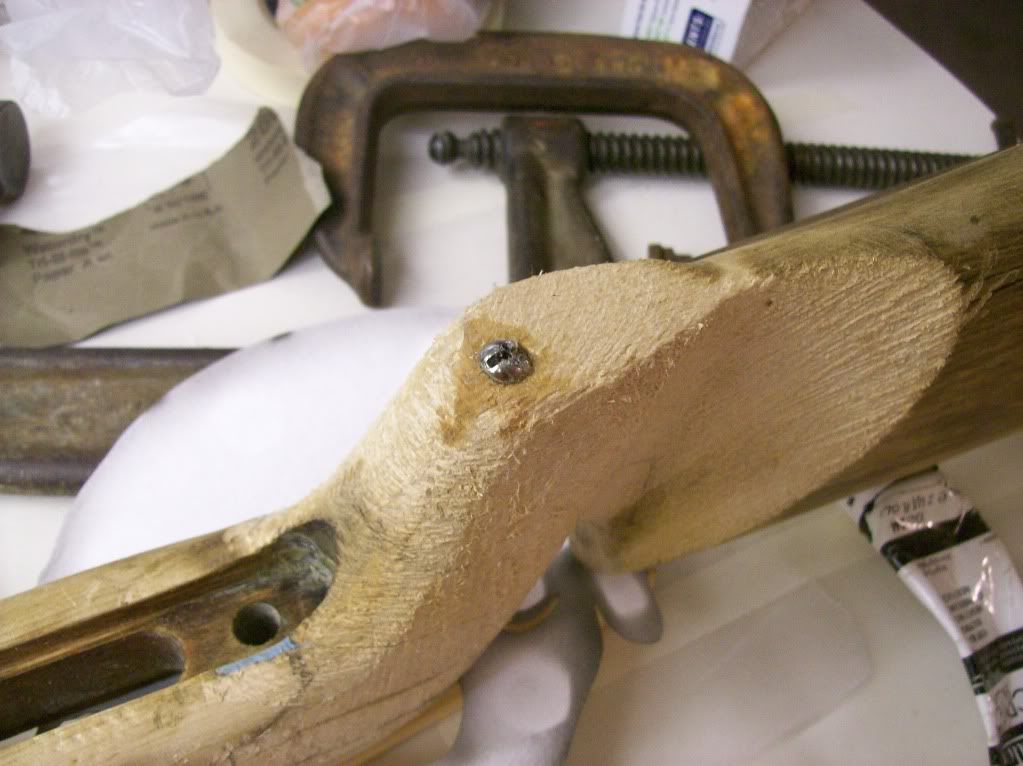
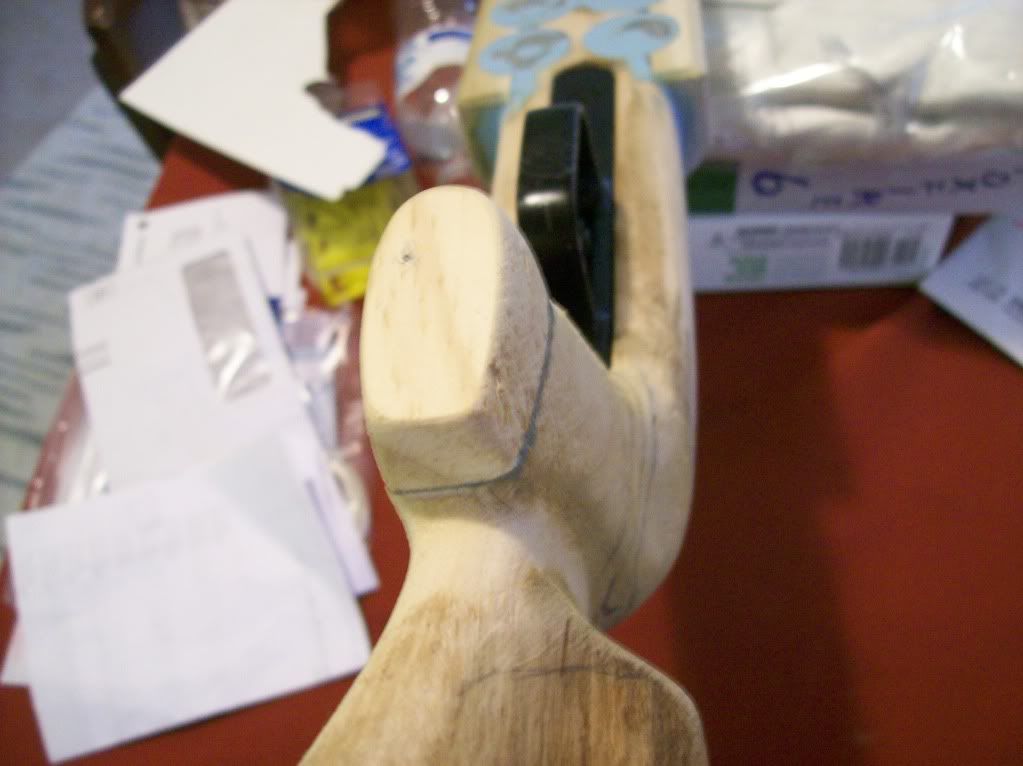
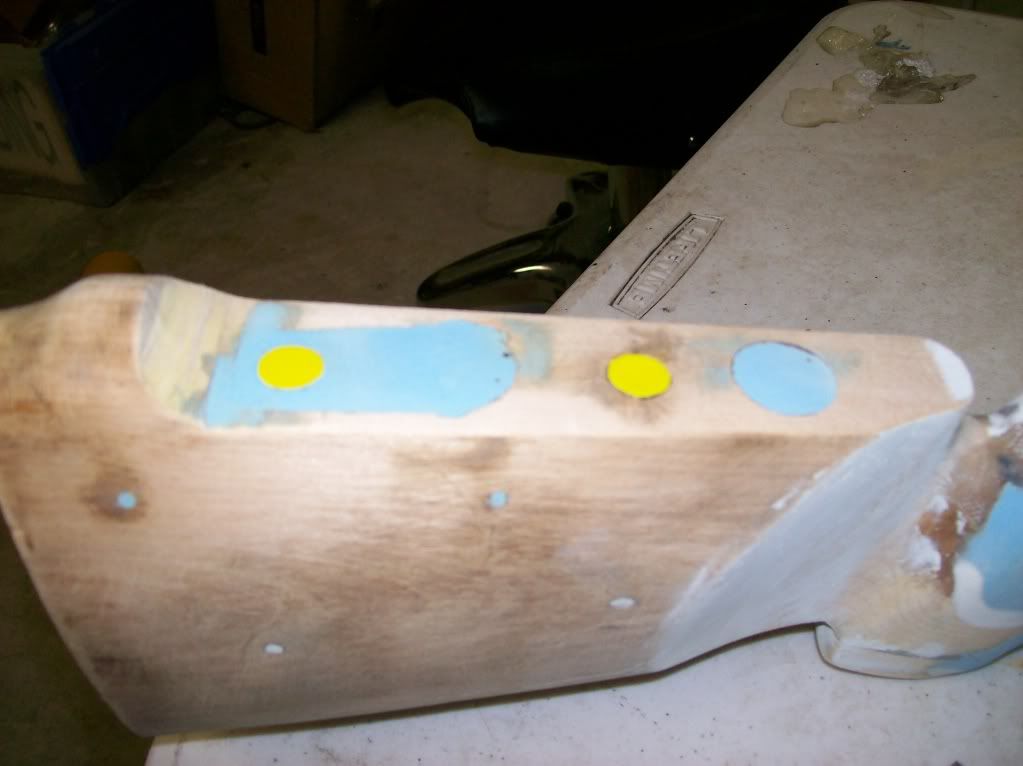
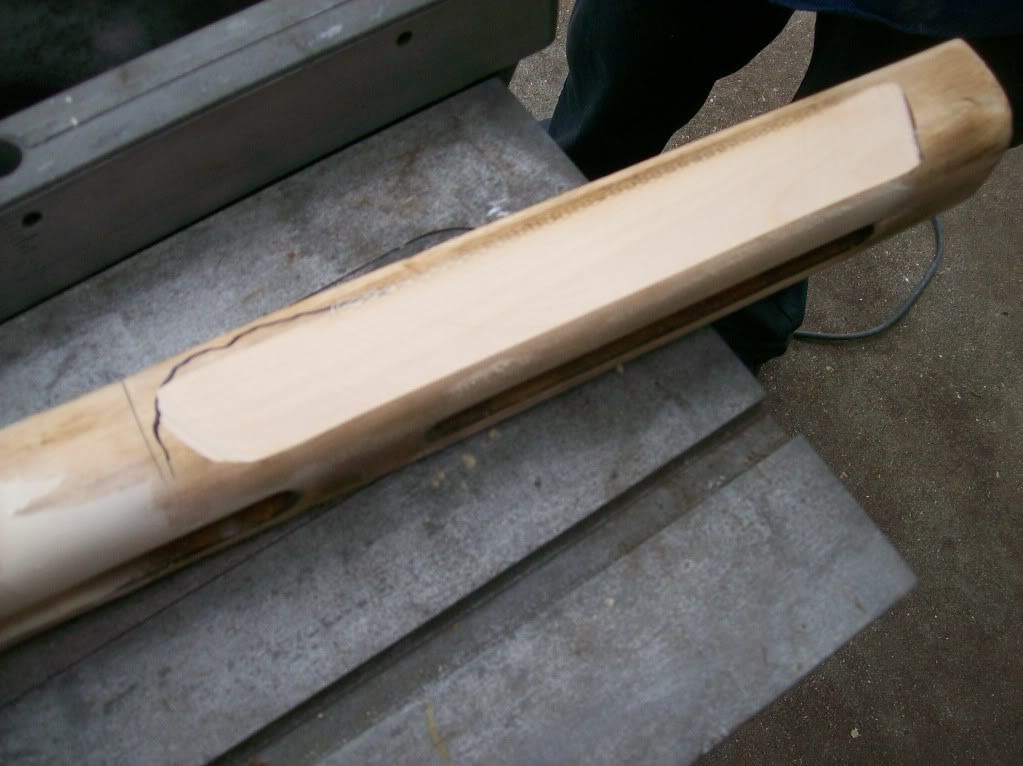
Here is the stock looking much more square. Now she is ready for me to glue on more boards.
![Image]()
I was in the garage later on that night working on the stock and our leaky air compressor came on. the noise from the compressor scared a baby opossum out from underneath the work bench!!! I told my girlfriend who is crazy about animals there was an opossum in the garage and she decided to catch it (against my advice, those things are mean when they wanna be...). But we did get a good picture before we let him go outside.
![Image]()
I have a lot more to do on the gun. I'll post more later. Please feel free to give suggestions. I saw the ural that Ret built in the sticky index. i was wondering how that soft bedding came out. Did it improve accuracy?
Later, Kurt

The semi-pistol grip does not fit my hand well. I think i wold like to remove a good amount of wood, and make a personalized grip out of 3m void filling compound. Its really strong stuff. I have never attempted any rifle project quite this big on a gun. I hope it turns out well.
Here are some pictures of the stock before I glued it back together.
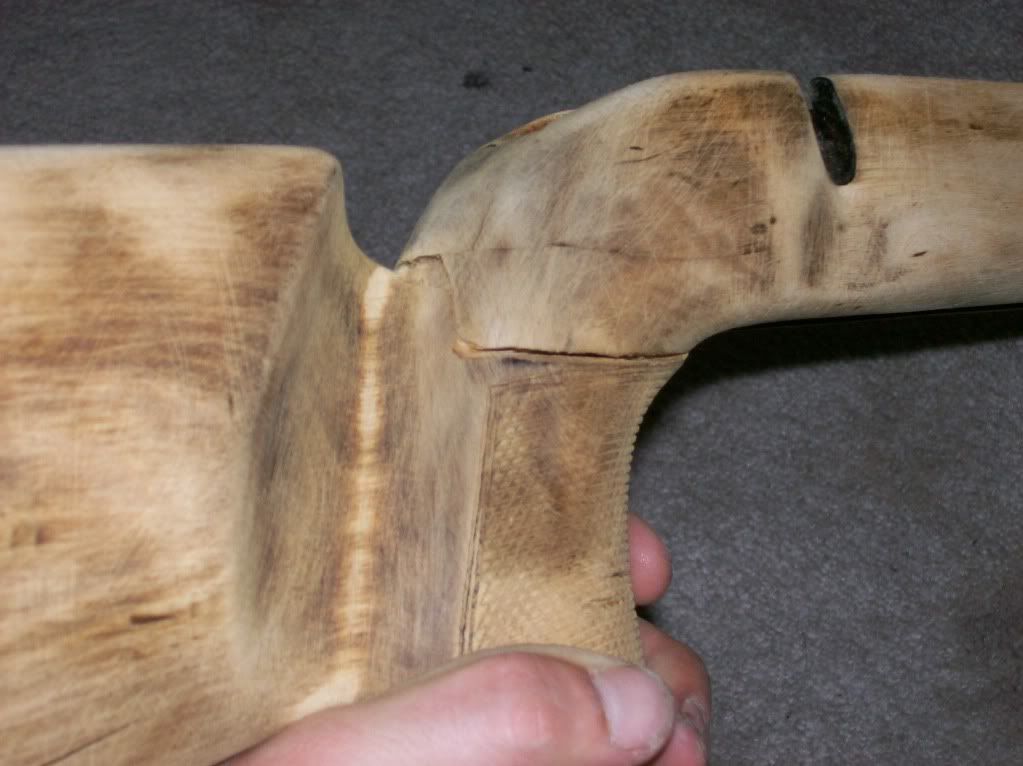
The crack was completely through the stock. The only thing holding it together was a machine screw someone put through the grip in the past.
http://i1146.photobucket.com/albums/o538/Kurt_Bendlin/104_0523.jpg[/IMG
It took quite a lot of effort to get that screw out. I ended up having to drill a hole next to it and wiggled it out.
Here is a picture of the box for the epoxy I used to glue the stock.
[IMG]http://i1146.photobucket.com/albums/o538/Kurt_Bendlin/104_0526.jpg
The epoxy worked very well, it takes 48 hours to fully cure and has a nice work time too. It takes about 90 minutes before it tacks. I chose this epoxy for its strength, flexibility, and work time.
Here is a picture of the rifle while it was clamped. I used a stack of washers inside of the action inlet to prevent denting the wood. There are many holes to be filled still.
Straight lines did not exist on this stock. The closest thing to straight was the top of the barrel channel. I used this as a reference to start trying to get the front end of the stock somewhat square. My father "bobleeswagger" has been an immense help in working on this project. We got out his shopsmith that had not run in over 20 years and used it to do the work on the front end. I was impressed at how well the machine still worked. We found it easiest to use a sander to remove the bulk of the wood instead of the saw. Here are more photos.
It took a little engineering to get the stock to feed through the sander correctly. We tacked a straight board on the side of the stock to help line things up.

Here is the stock looking much more square. Now she is ready for me to glue on more boards.
I was in the garage later on that night working on the stock and our leaky air compressor came on. the noise from the compressor scared a baby opossum out from underneath the work bench!!! I told my girlfriend who is crazy about animals there was an opossum in the garage and she decided to catch it (against my advice, those things are mean when they wanna be...). But we did get a good picture before we let him go outside.

I have a lot more to do on the gun. I'll post more later. Please feel free to give suggestions. I saw the ural that Ret built in the sticky index. i was wondering how that soft bedding came out. Did it improve accuracy?
Later, Kurt

")