After having a renewed interest in my Marlin 25N I decided the barrel "needed" to be floated for better accuracy. I promptly removed the stock and started sanding away. After about 20 minutes I was proud of my work and put the rifle back together...
Not enough planning showed itself when my assembled rifle acted like a see-saw. That is when I started trolling this forum for a fix or replacement stock options. I saw a thread with pics of a bedded 25 and decided I would try that before buying a Boyd's or Marlin stock.
I decided to pillar bed the receiver with brass pipe fittings and a Miles Gilbert Bedrock glass bedding kit for about $25. I also planned on refinishing the stock so I wasn't too worried about the existing finish while bedding. The finish is Minwax Special Walnut 224 stain and 4 or 5 light coats of Tru-Oil. The shine was knocked down with some steel wool.
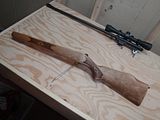
Here's my starting point.

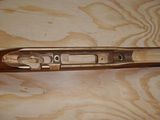
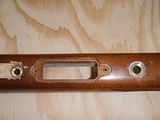
Bedding job from the top and bottom.
Stripped and sanded stock. Reassembled to decide if I wanted it blonde or to stain it darker.
After 1 light coat of walnut stain.
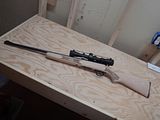
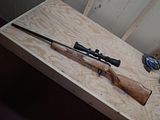
Finished rifle on the bench (as a comparison to the starting pic)
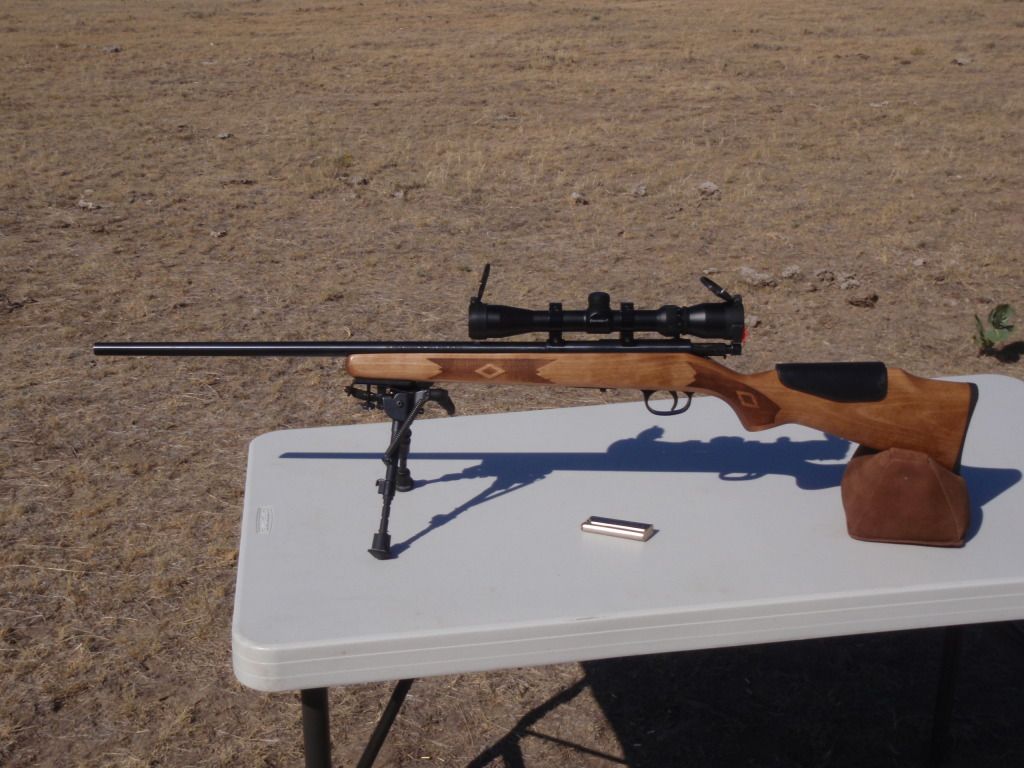
And a picture of it in the sun after a day at the range.
![Image]()
Not enough planning showed itself when my assembled rifle acted like a see-saw. That is when I started trolling this forum for a fix or replacement stock options. I saw a thread with pics of a bedded 25 and decided I would try that before buying a Boyd's or Marlin stock.
I decided to pillar bed the receiver with brass pipe fittings and a Miles Gilbert Bedrock glass bedding kit for about $25. I also planned on refinishing the stock so I wasn't too worried about the existing finish while bedding. The finish is Minwax Special Walnut 224 stain and 4 or 5 light coats of Tru-Oil. The shine was knocked down with some steel wool.
Here's my starting point.

Bedding job from the top and bottom.


Stripped and sanded stock. Reassembled to decide if I wanted it blonde or to stain it darker.

After 1 light coat of walnut stain.

Finished rifle on the bench (as a comparison to the starting pic)

And a picture of it in the sun after a day at the range.